Software Update
| Model | [•] AON M2+ (CE) | [•] AON M2+ (R-NZ) | [•] AON M2+ | [•] AON-M2 2020 | [•] AON-M2 |
| Category | [ ] Preventive | [•] Corrective |
Summary
The procedure that follows gives the instructions on how to update the AON3D machine software.
Our software team releases regular updates for the proprietary software on your AON3D machine. Software updates include improvements and new Graphical User Interface (GUI) features, bug fixes, improvements to print quality and overall stability of the machine.
For the AON M2+ (CE), AON M2+ (R-NZ) and AON M2+ machines, the latest application version is version 45dccb0. For the AON-M2 2020 and AON-M2 machine, the latest application version is v2022.07.04.21.14.
A notification email with release notes is sent to our users when a new software update is available.
If you have any GUI feature requests, or encounter any bugs, contact AON3D’s Customer Success team at help@aon3d.com to raise a bug report.
The sections that follow provide details on how to update the AON3D machine:
- Summary
- View Present Software Version
- Install Software Update from the Internet
- Install Software Update from a USB Key
View Present Software Version
- On the GUI, go to Settings > Updates to view the present software version on your AON3D machine.
Install Software Update from the Internet
Download Software Update
Software updates are automatically downloaded when the AON3D machine is connected to the Internet.
If you are not able to connect your machine to a network that can make outgoing requests to our servers, AON3D offers a service to receive software updates offline. This service is offered at no charge to our Professional Success Plan customers. Contact help@aon3d.com for more information.
When reaching out to our team for technical support, you will be asked to confirm the firmware and application versions on your AON3D machine. Prepare the firmware and application versions before reaching out to our technical support team.
- Make sure that the AON3D machine is successfully connected to your Internet network to download the software update. Refer to Network Connection.
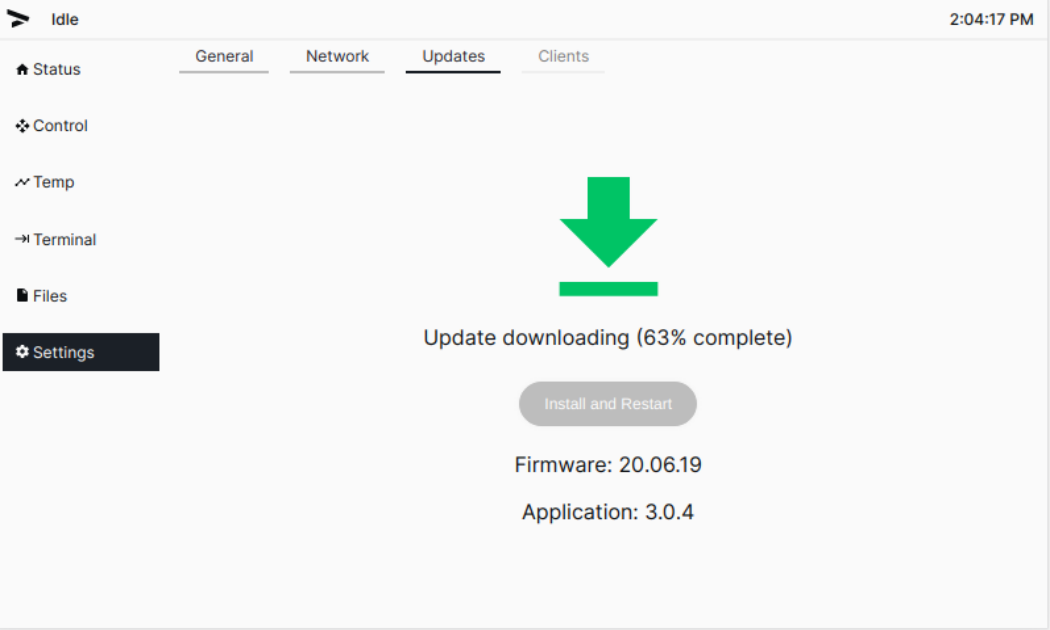
- On the GUI, go to Settings > Updates to see the software update status.
- Wait until the software update has been downloaded.
Install Software Update
Keep your machine connected to the Internet during the update process and for three hours after the update has completed. This is to make sure that the update process completes successfully.
When an update has been downloaded it will be automatically installed when the machine is restarted or it can be initiated manually by the user.
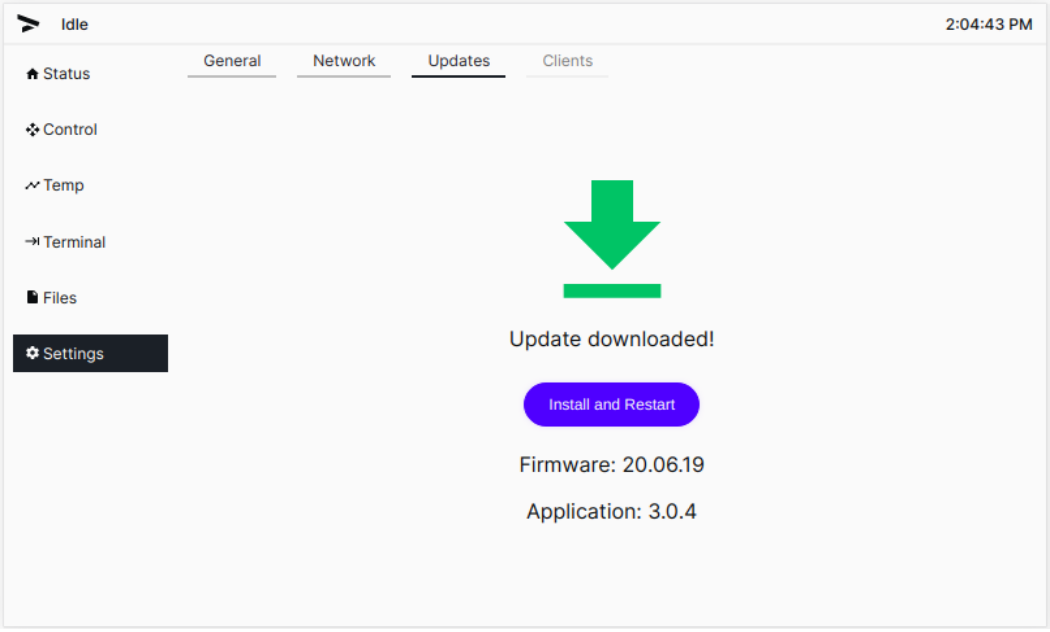
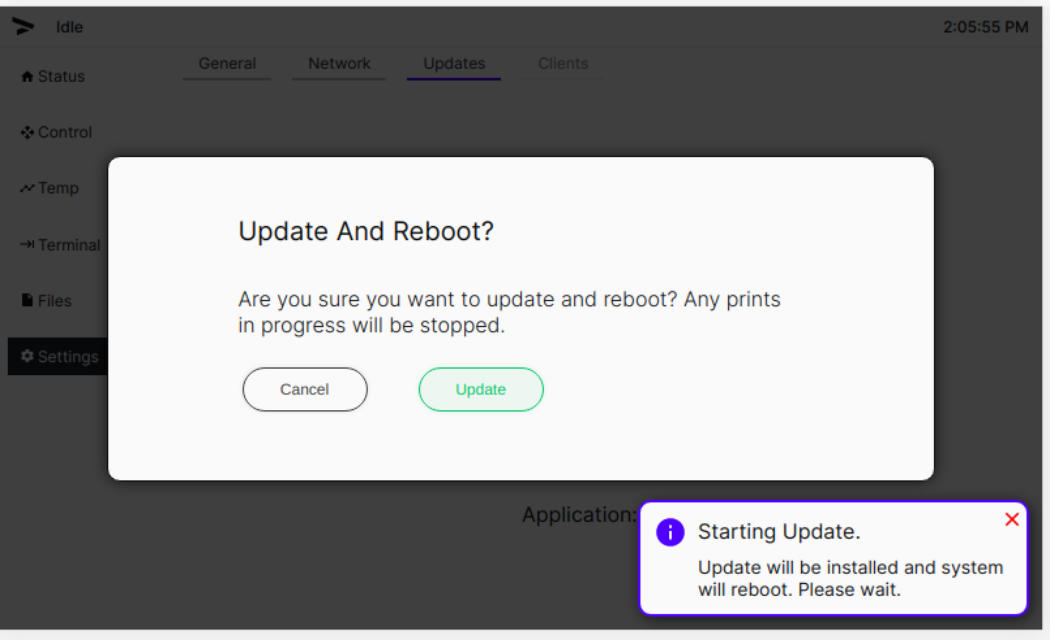
- On the GUI, go to Settings > Updates > Install and Restart > Update to install the software update.
Do not power OFF the AON3D machine when the software update is being installed. The loss of power to the AON3D machine can cause damage to the micro SD memory card. Contact help@aon3d.com for assistance.
Do not operate the AON3D machine when the software update is being installed. This can cause damages to machine component(s).
- The AON3D machine will restart automatically after the new software update has been successfully installed.
The GUI will show a black screen after the new software update has been successfully installed. This is normal.
- If the GUI shows a black screen for more than 30 minutes, do the steps that follow:
- Turn the power OFF with the ON/OFF switch found on the rear panel of the machine.
- After two minutes, turn the power ON.
- If the GUI screen stays black after the cycle start, reach out to our Customer Success team at help@aon3d.com for assistance.
- The GUI will power ON automatically and display the Updating firmware-Do not turn off the machine in the status bar at the top.
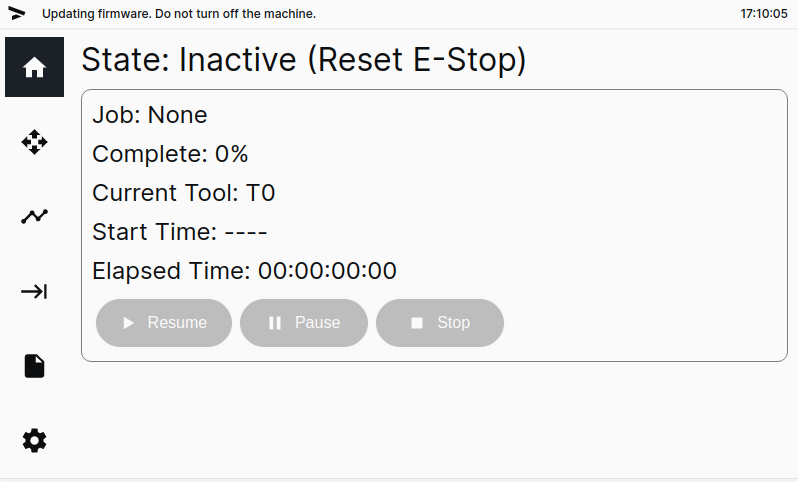
- Wait for the software update to be successfully installed.
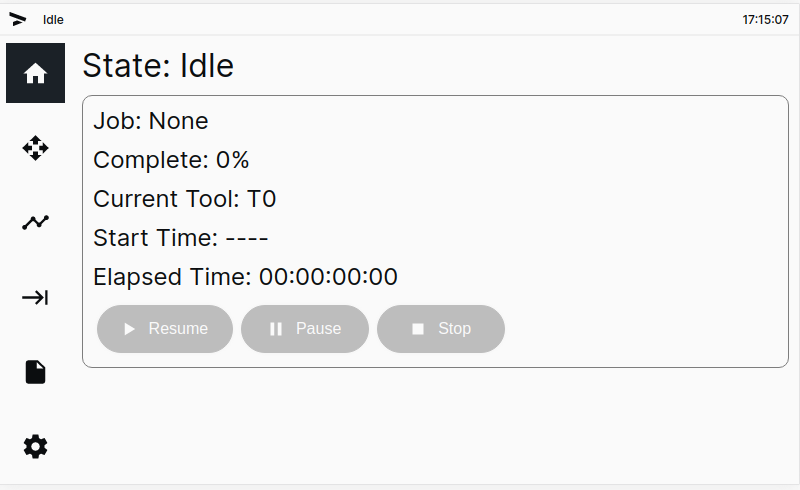
- The GUI status will display Idle for approximately 30 seconds to confirm that the AON3D machine has been successfully updated.
- If the GUI displays Busy for more than five minutes, do the steps that follow:
- Turn the power OFF with the ON/OFF switch found on the rear panel of the machine.
- Wait two minutes.
- Turn the power ON with the ON/OFF switch found on the rear panel of the machine.
- On the GUI, go to Settings > Updates to confirm that the software was successfully updated on the AON3D machine.
- If the time is not correctly displayed on the GUI, and the AON3D machine is connected to the Internet on the GUI, go to the Settings > Maintenance > Restart.
Install Software Update from a USB Key
The AON3D machine must be running a software version greater than 3.0.0 to execute the software update from a USB key.
Each copy of the software update (USB key or downloadable link sent by AON3D) is marked with a unique identification of the AON3D machine it is intended for. The software update can only be used to update the AON3D machine it was intended for. For users with multiple AON3D machines, a separate copy of the software update is needed for each machine and each copy must be matched to the machine it is intended for.
Transfer the Software Update to the USB Key
If you have a USB key with the software update that was provided by AON3D, do not do this step. Go to Install Software Update from the USB Key.
If necessary install 7-Zip. 7-Zip can be downloaded here.
- Put a FAT32-formatted USB key into the computer.
- Follow the link sent by AON3D to download the software update.
- Use 7-Zip to extract the contents of the downloaded file to the USB key root folder.
- When the files have been successfully extracted, safely eject and remove the USB key from the computer.
Install Software Update from the USB Key
Make sure that there are no active print job(s) before you install the USB key into the AON3D machine with a software version less than 3.3.0. When a USB key with a valid update is connected to a AON3D machine with a software version less than 3.3.0, the update process will start automatically within 30 minutes.
• AON3D machines running software versions less than 3.3.0: All settings, logs, and G-Code files will be deleted when a software update is made with the use of a USB key.
• AON3D machines running software versions greater than 3.3.0: All settings and logs are saved, but all G-Code files will be deleted, when a software update is made with the use of a USB key.
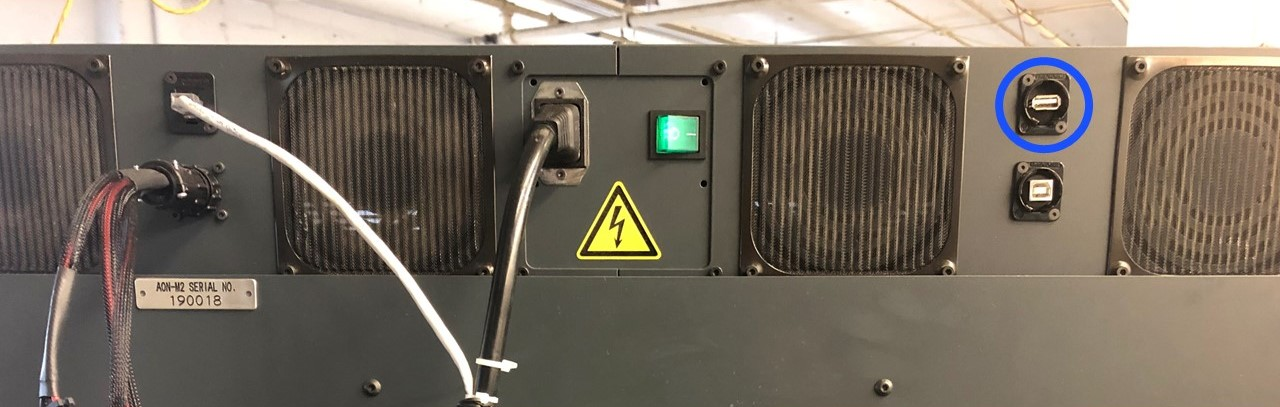
- Install the USB key into the USB port found on the rear panel of the machine. Do not remove the USB key until otherwise specified.
- If the contents of the USB key are valid and the machine is running a software version less than 3.3.0, the update process will start within 30 minutes.
- If the machine is running a software version greater than 3.3.0, do the steps that follow:
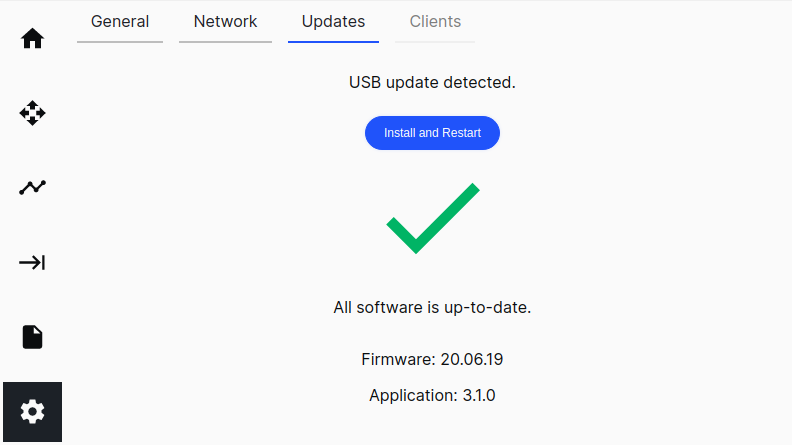
- On the GUI, go to Settings > Updates.
- Select Install and Restart > Update to install the software update. The AON3D machine will automatically restart after the software update has been successfully installed.
Do not power OFF the AON3D machine when the software update is being installed. The loss of power to the AON3D machine can cause damage to the micro SD memory card. Contact help@aon3d.com for assistance.
Do not operate the AON3D machine when the software update is being installed. This can cause damages to machine component(s).
The GUI will show a black screen after the new software update has been successfully installed. This is normal.
- If the GUI shows a black screen for more than 30 minutes, do the steps that follow:
- Turn the power OFF with the ON/OFF switch found on the rear panel of the machine.
- After two minutes, turn the power ON.
- If the GUI screen stays black after the cycle start, reach out to our Customer Success team at help@aon3d.com for assistance.
- The GUI will power ON automatically and display the Updating firmware-Do not turn off the machine in the status bar at the top.
- Wait for the software update to be successfully installed.
- The GUI status will display Idle for approximately 30 seconds to confirm that the AON3D machine has been successfully updated.
- If the GUI displays Busy for more than five minutes, do the steps that follow:
- Turn the power OFF with the ON/OFF switch found on the rear panel of the machine.
- Wait two minutes.
- Turn the power ON with the ON/OFF switch found on the rear panel of the machine.
- On the GUI, go to Settings > Updates to confirm that the software was successfully updated on the AON3D machine.
- If the time is not correctly displayed on the GUI, and the AON3D machine is connected to the Internet on the GUI, go to the Settings > Maintenance > Restart.
- Remove the USB key from the USB port found on the rear panel of the machine.