Installation and Updates
Need help? Basic slicing support is available to all AON3D customers. For advanced support inquiries, an AON3D success plan may be required. Our Success plans help businesses get started fast, minimize downtime, and quickly become experts in industrial additive manufacturing.
Contact us at help@aon3d.com to get started or for Success Plan information.
System Requirements
- CPU: multiple cores preferred
- Memory: Minimum 4GB RAM, 8GM is recommended
- Windows: 64-bit Windows 7 and newer.
Installation Guide
Follow the instructions below to install the AON3D SuperSlicer:
- Download the latest version of AON3D SuperSlicer Configuration Bundle HERE.
- Unzip the AON3D_SuperSlicer_ConfigBundle.zip folder.
- Open the unzipped folder and run superslicer.exe.
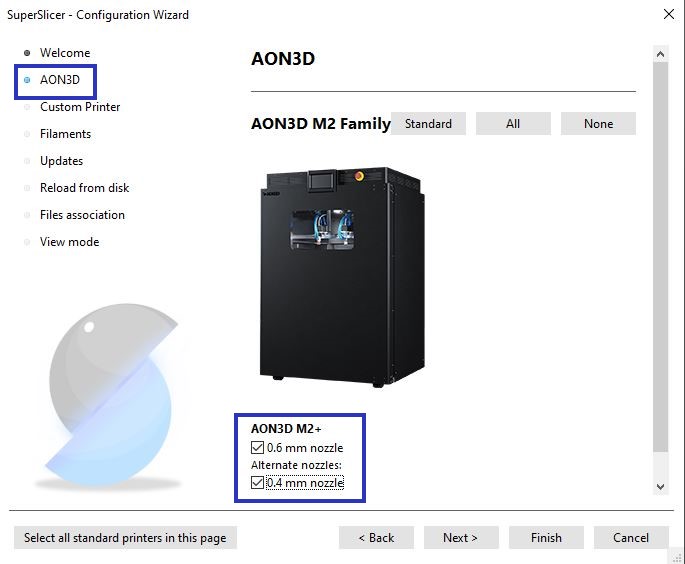
- Choose the right printer model and nozzle sizes. Standard nozzle size for the AON M2+ is 0.6mm.
This configuration bundle is compatible with models AON M2+ (CE), AON M2+ (R-NZ), and AON M2+.
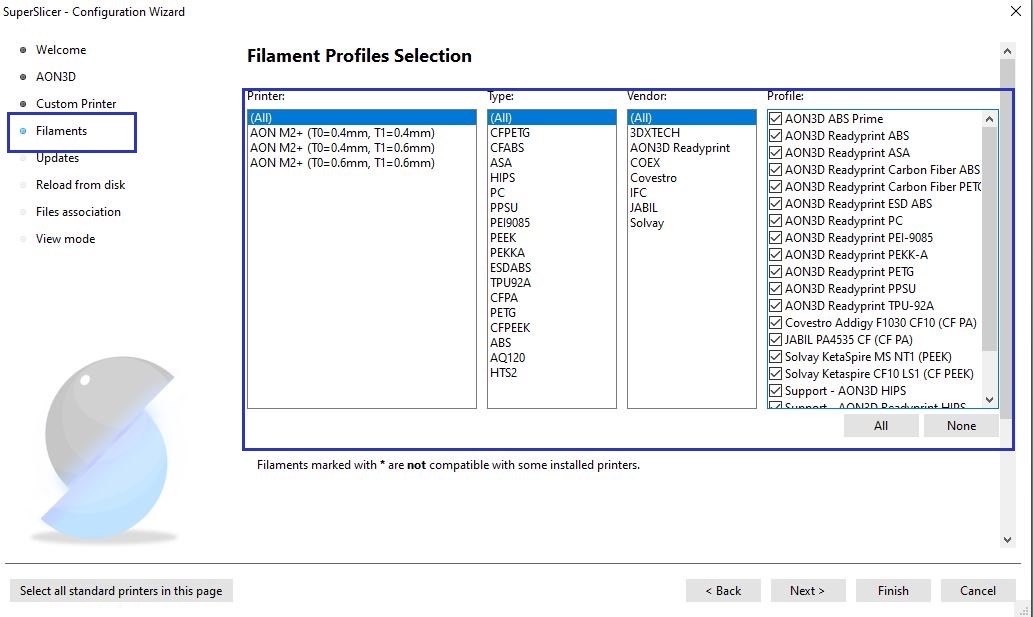
- Navigate to Filaments at the bottom of the menu. Select the desired printer configuration and filter filaments by polymer type or vendor. AON3D recommends selecting All for a basic installation.
- Navigate to View mode and check Expert mode.
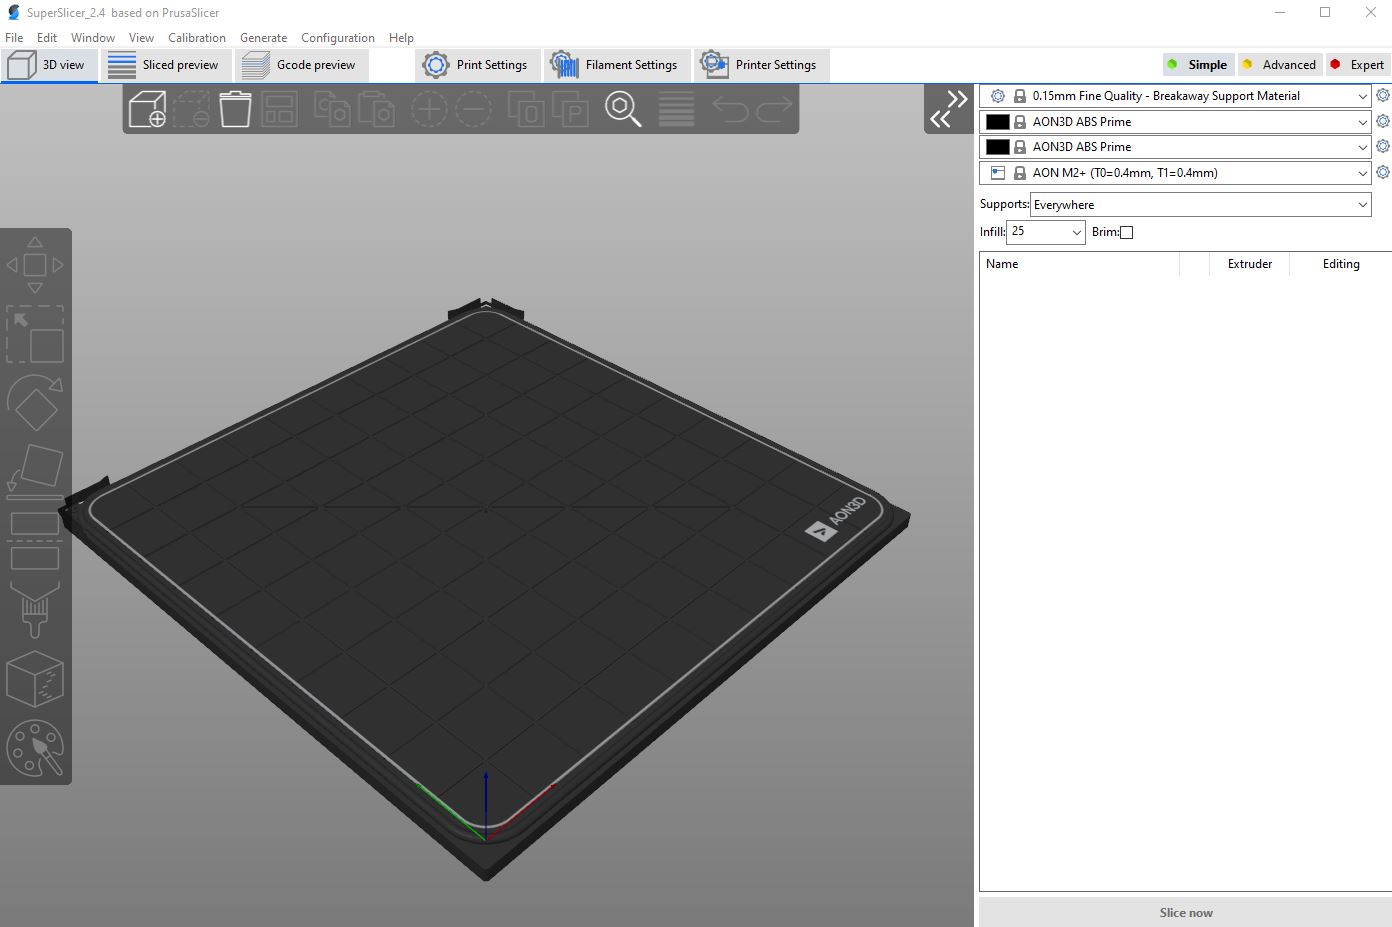
- Click Finish to close the Configuration Wizard and access the UI of SuperSlicer. If you see the following window, Congratulations! You are all set!
You can always go back to the configuration settings and modify, for example adding or removing filament profiles from the preset list, or adding or removing nozzle sizes. To do so navigate to Configuration > Configuration Wizard, and repeat steps 4 onwards.
To activate Dark mode navigate to
Configuration > Preferences… > Colors
and check Enable dark mode.
Updating Guide
Make sure to have only one instance of SuperSlicer installed on your computer. Having multiple version of SuperSlicer may cause unexpected slicing behavior.
If you have already installed a version of AON3D SuperSlicer before, make sure you have the latest version of the .ini file.
.ini file is the configuration file that stores all the information about the printer, filaments, and process settings. The latest version could include, but not necessarily, changes to material profiles, printer configs, etc.
Follow the instructions below to do so:
- Download the latest version of the zipped configuration file from the SuperSlicer Changelogs page.
- Unzip the AON3D_SS_Update-vX.X.zip folder. Inside the unzipped folder you will see the AON3D.ini file.
- Open AON3D SuperSlicer, and navigate to Help > Show Configuration Folder.
- In the file explorer window that pops up, navigate to vendor folder.
- REPLACE the .ini file inside, with the new AON3D.ini file from Step 2.
- Restart SuperSlicer.
- Go to Configuration and select Configuration Wizard.
- Navigate to Filaments at the bottom of the menu. Select the desired printer configuration and filter filaments by polymer type or vendor. AON3D recommends selecting All for a basic installation.
- Click Finish to close the Configuration Wizard and access the UI of SuperSlicer. If you see the following window, Congratulations! You are all set!
The Configuration Bundle, refers to the AON3D_SuperSlicer_ConfigBundle.zip file.
The Configuration file, refers to the AON3D.ini file.