Replace Kapton® Polyimide Tape
| Model | [ ] AON M2+ (CE) | [ ] AON M2+ (R-NZ) | [ ] AON M2+ | [•] AON-M2 2020 | [•] AON-M2 |
| Category | [ ] Preventive | [•] Corrective |
To resurface the AON-M2 High-Temperature Build Plate, refer to Resurface the High-Temperature Build Plate.
Summary
The procedure that follows gives the instructions on how to replace the Kapton® polyimide tape found on the low-temperature build plate.
Estimated time: 60 minutes
Tools and Equipment
| Qty | Description | Specification |
|---|---|---|
| 1 | Knife | Putty, plastic |
| 1 | Knife | Box cutter |
| A/R | Soap and Water Solution | 50/50 mixture in Spray bottle |
| A/R | Rags | Lint-free |
| A/R | Isopropyl Alcohol | 99% |
Parts Information
| Qty | Part Number | Description |
|---|---|---|
| A/R | ACC-KPT-6-0.0035-15 | Kapton® polyimide tape, 6" wide, 0.0035 inches thick, 15-foot Roll |
| A/R | ACC-KPT-18-0.002-108 | Kapton® polyimide tape, 18" wide, 0.002 inches thick, 9-foot Roll |
| A/R | M2-SUB-BUILD-PLATE-KPT | Aluminum Build Plate with Kapton® Surface, Optional |
Reach out to our Customer Success team at help@aon3d.com for genuine AON3D part(s).
Personal Protective Equipment
| Qty | Description | Minimum Specification |
|---|---|---|
| 1 | Safety Eyewear | ANSI/ISEA Z87.1 |
| 1 | Safety Footwear | N/A |
| A/R | Nitrile Gloves | ISO 2859-1 or ASTM D6319 |
| A/R | Gloves | Work |
Prepare the Machine
Make sure that there are no prints on the build surface. Remove print(s) before the procedure that follows is started. Failure to do so can cause a collision and cause damage to the machine component(s).
- Home XYZ.
- Lower the Z-axis by 300 mm.
- Push the E-stop button.
- Open the build chamber door.
- Wait until the build chamber, build platform and hot ends are at room temperature.
Remove the Low-Temperature Build Plate
Wait until all the machine components are at room temperature before you continue. Some machine components can be hot if the machine was recently used. Failure to do so can cause injuries.
- Remove the build plate. Refer to Install Build Plate.
- Put the build plate on a clean workbench.
Remove the Kapton® Polyimide Tape
- Remove the old Kapton® polyimide tape as follows:
- Peel off a corner of the Kapton® polyimide tape.
- Carefully pull on the corner of the Kapton® polyimide tape to remove.
- Do steps 1a and 1b until the Kapton® polyimide tape is completely removed from the build plate top surface.
- Discard of the Kapton® polyimide tape.
Clean the Low-Temperature Build Plate
- Use the isopropyl alcohol and clean lint-free rag(s) to remove all contaminants from build plate top surface.
- Inspect the build plate top surface. Make sure that the build plate top surface is clean.
- Do steps 1 to 2 as necessary.
Prepare the New Kapton® Polyimide Tape
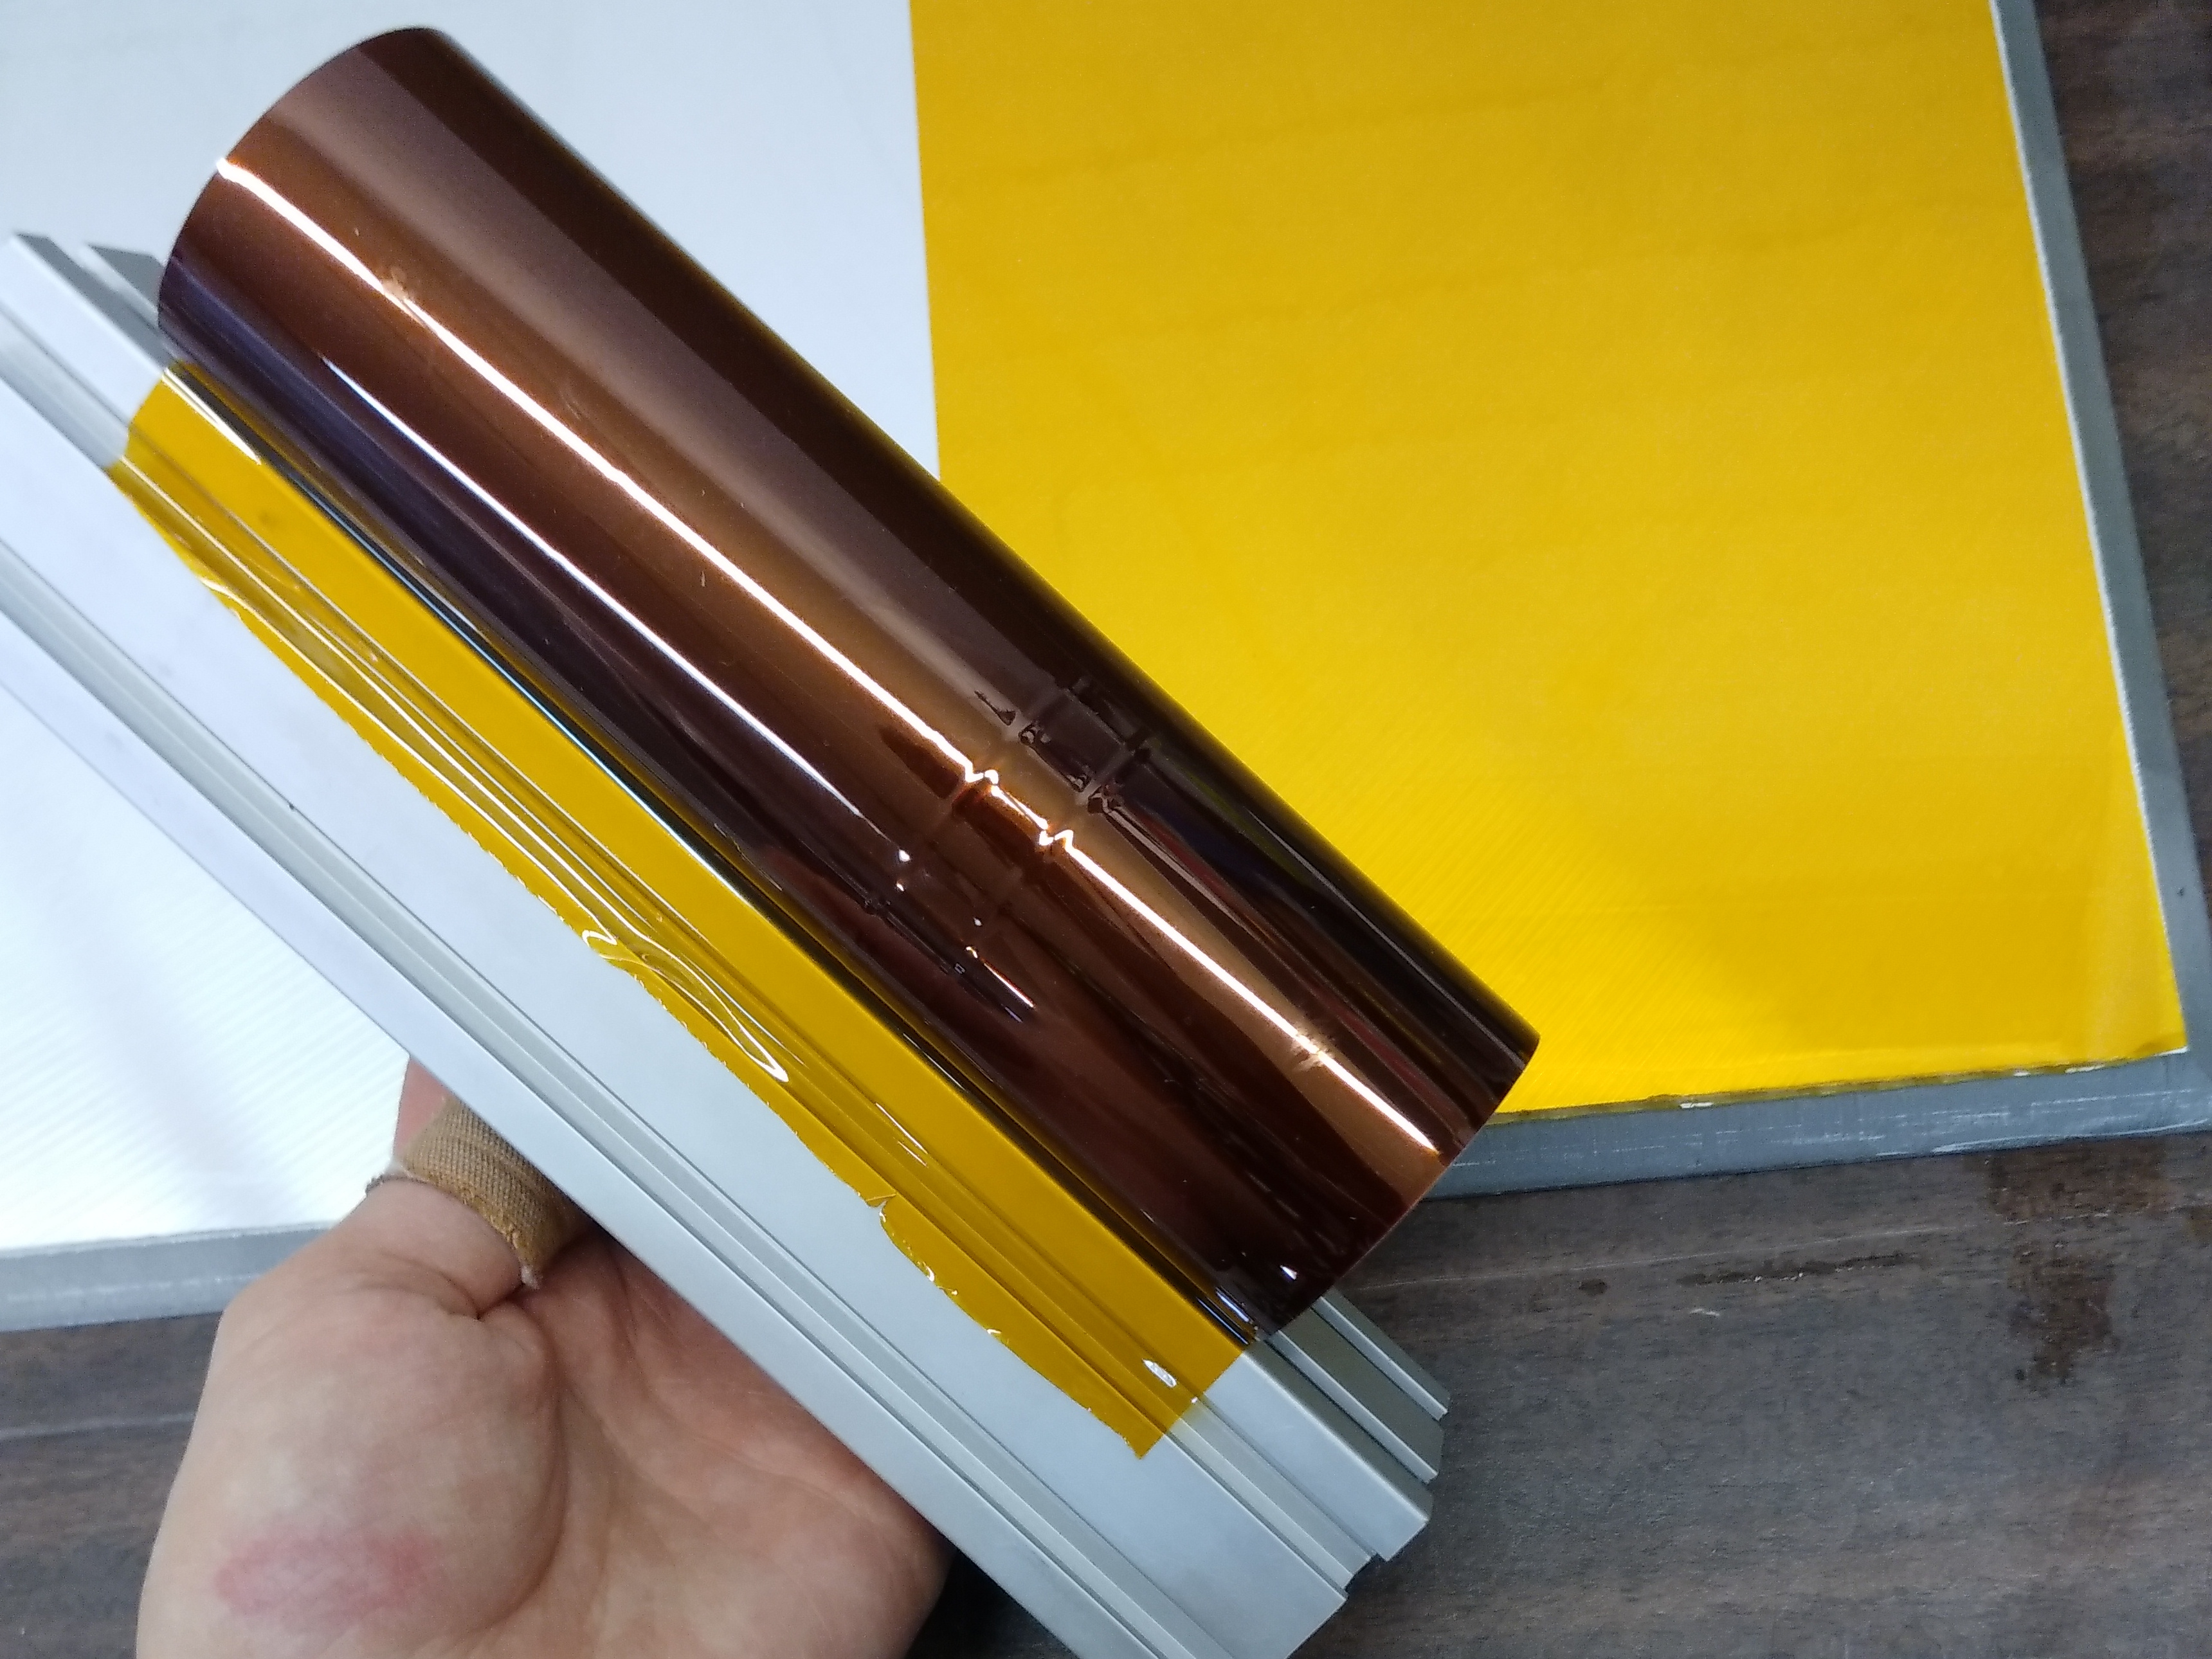
- Carefully unroll the Kapton® polyimide tape onto the build plate top surface from side to side as follows:
- Make sure to leave a 1 mm (0.04 inch) around the perimeter of the build plate print surface.
- Make sure that the Kapton® polyimide tape does not overlap onto each other.
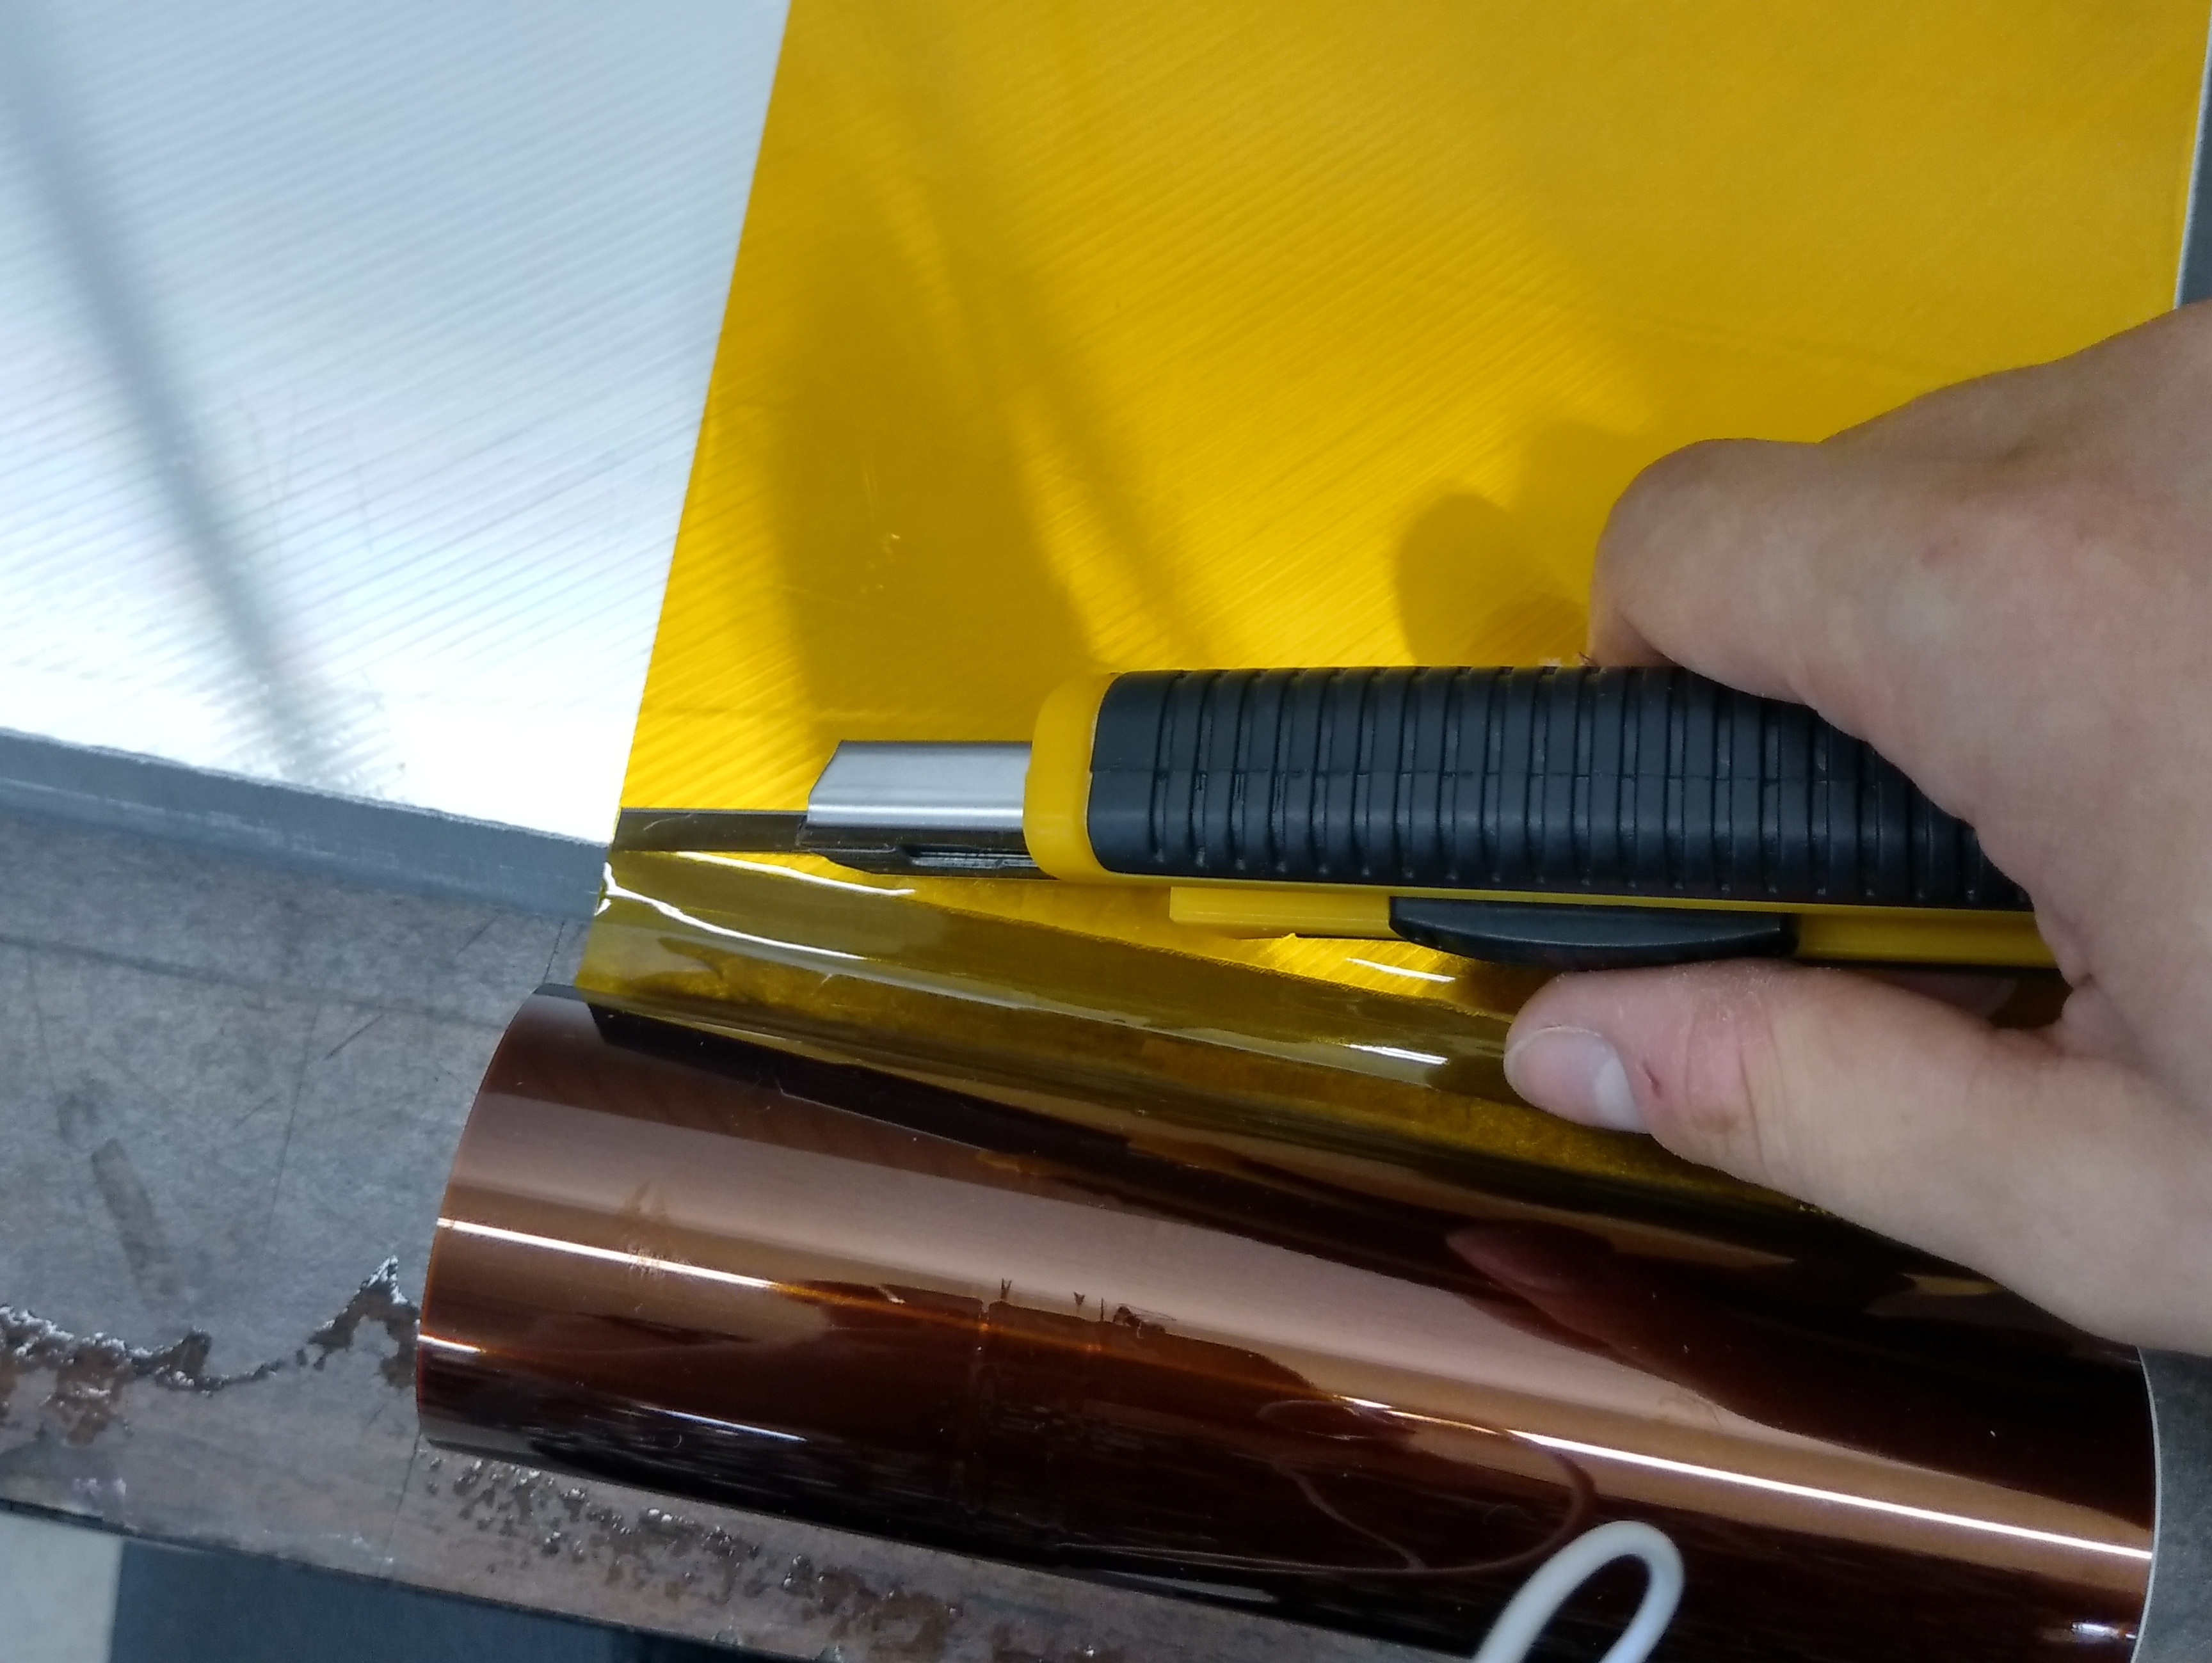
- Carefully use the box cutter to cut the Kapton® polyimide tape to the necessary length.
- Do steps 1a to 1c until the full print area is covered.
- Put the Kapton® polyimide tape strips aside. Make sure not to kink the Kapton® polyimide tape strips.
Install the New Kapton® Polyimide Tape

- Inspect the build plate top surface. Make sure that the build plate top surface is clean.
- Apply a small quantity of the soap and water solution onto the full area of build plate top surface.
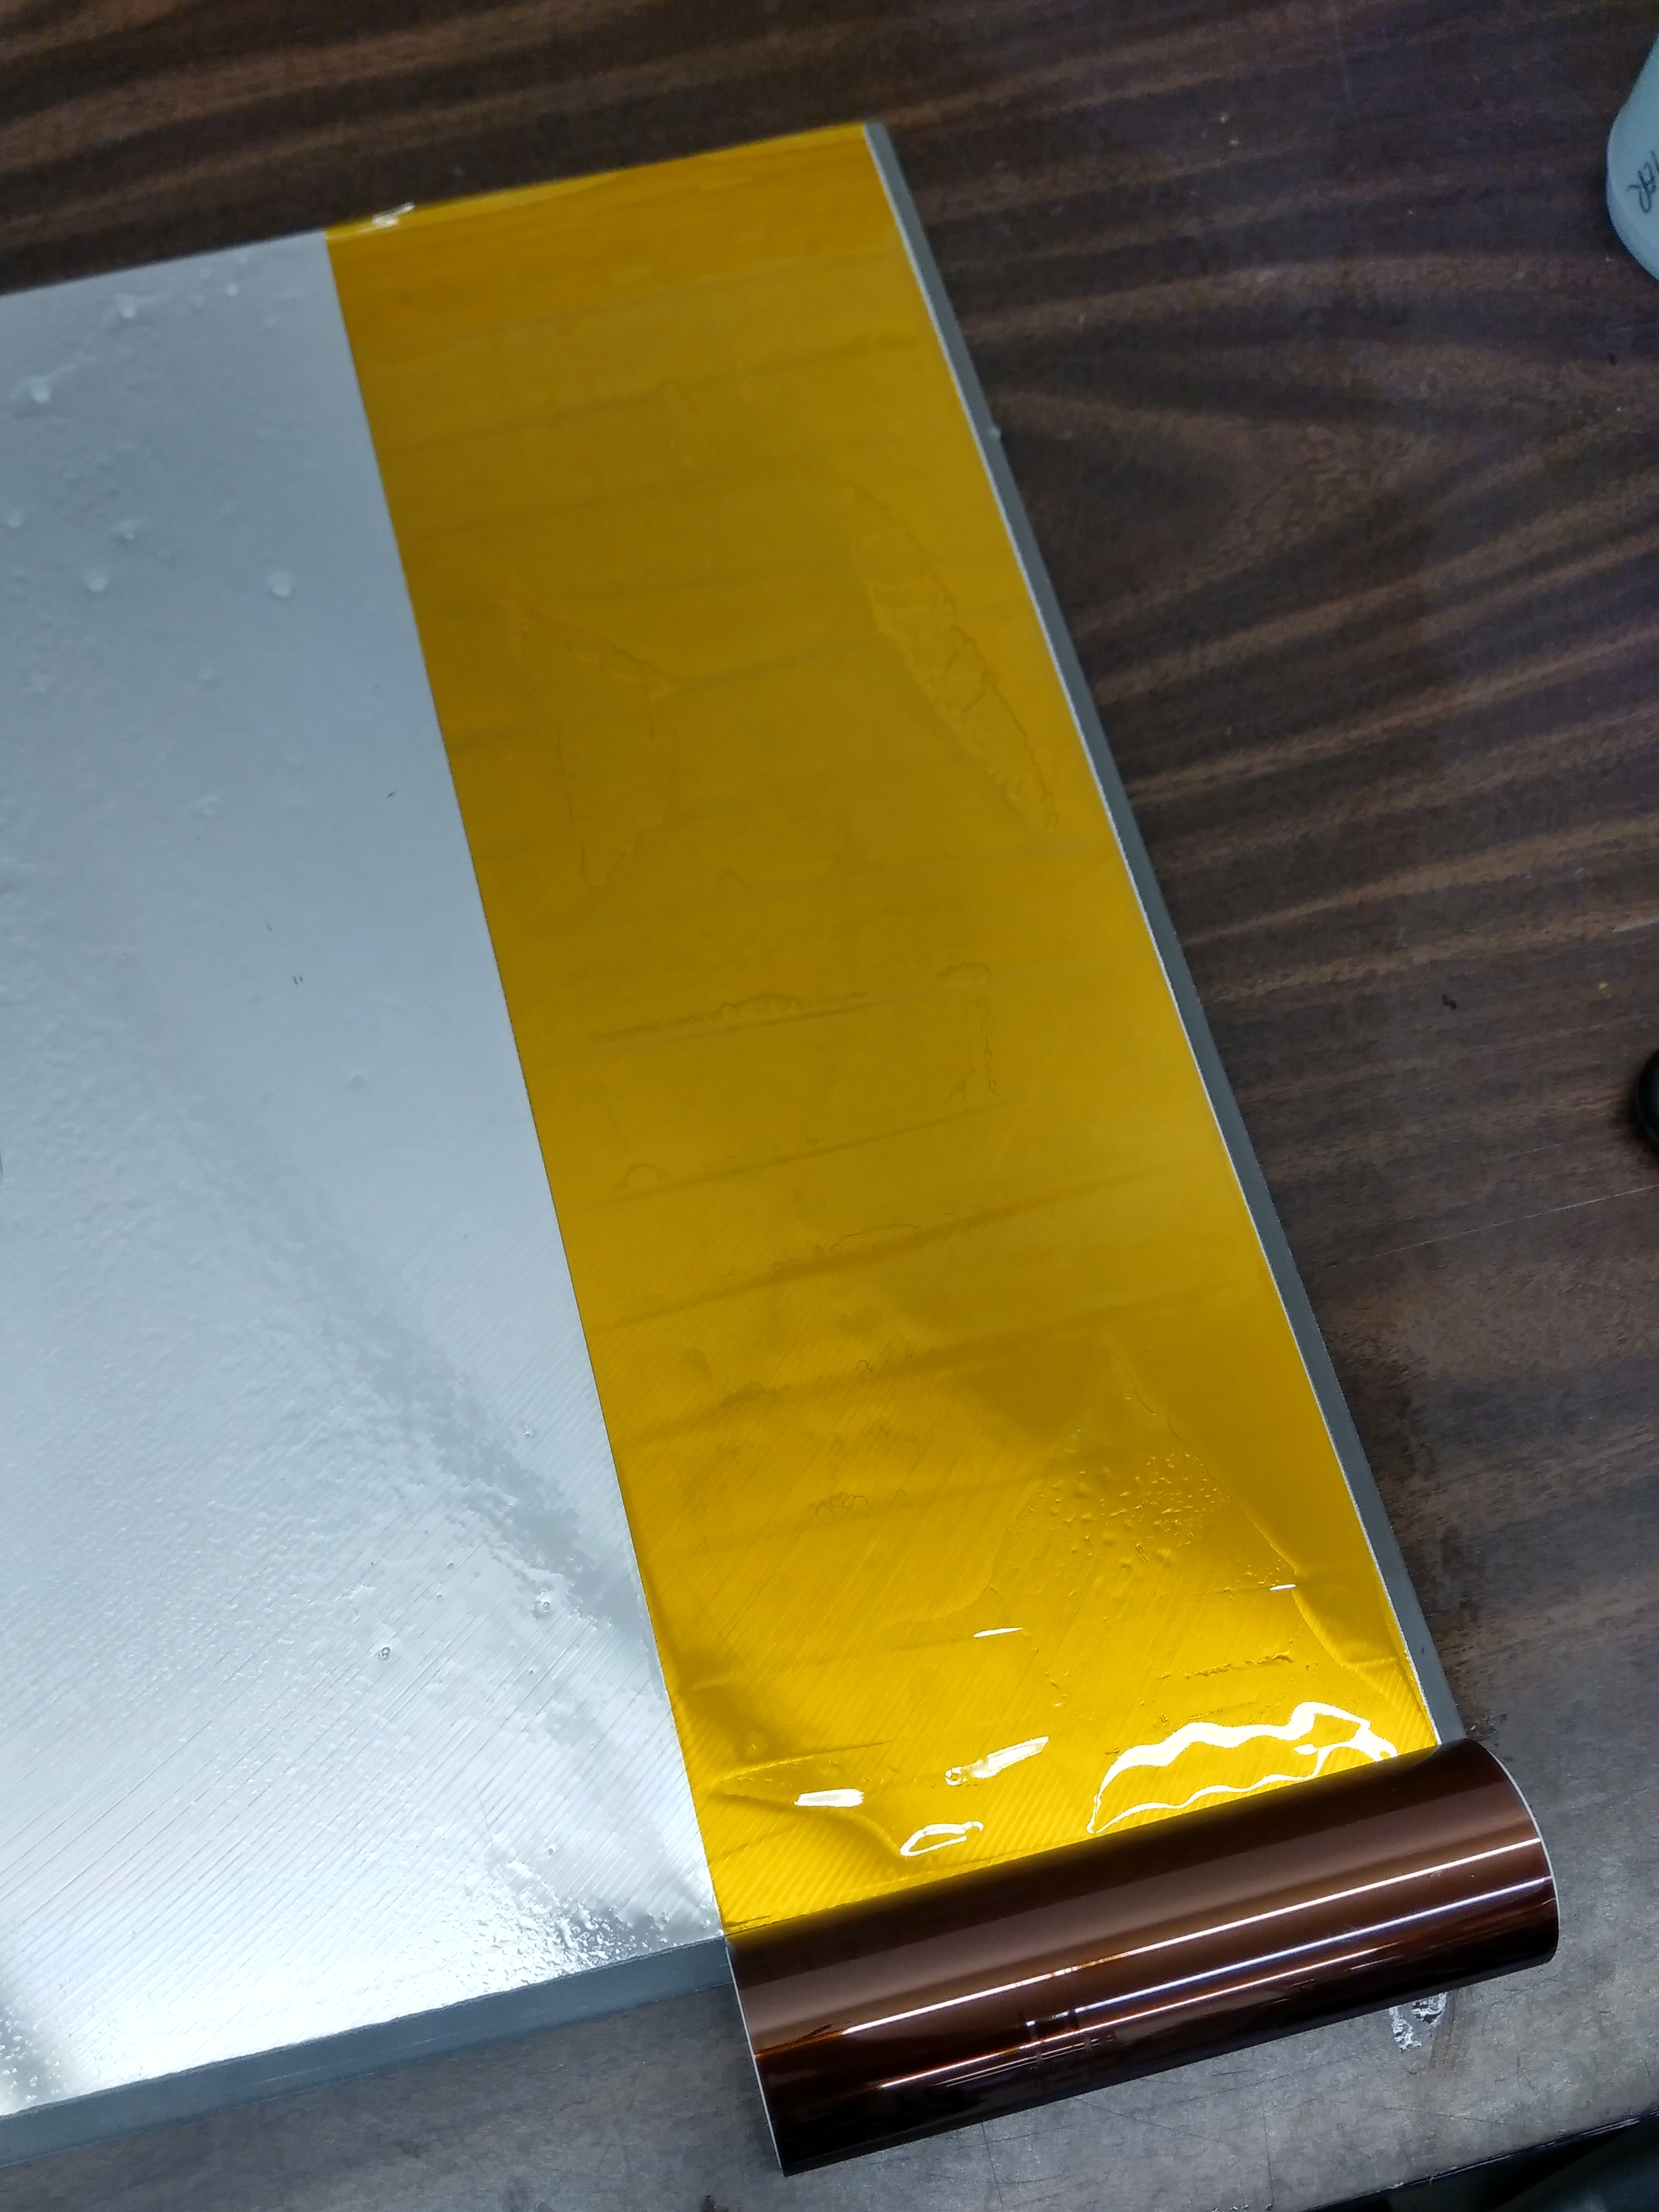
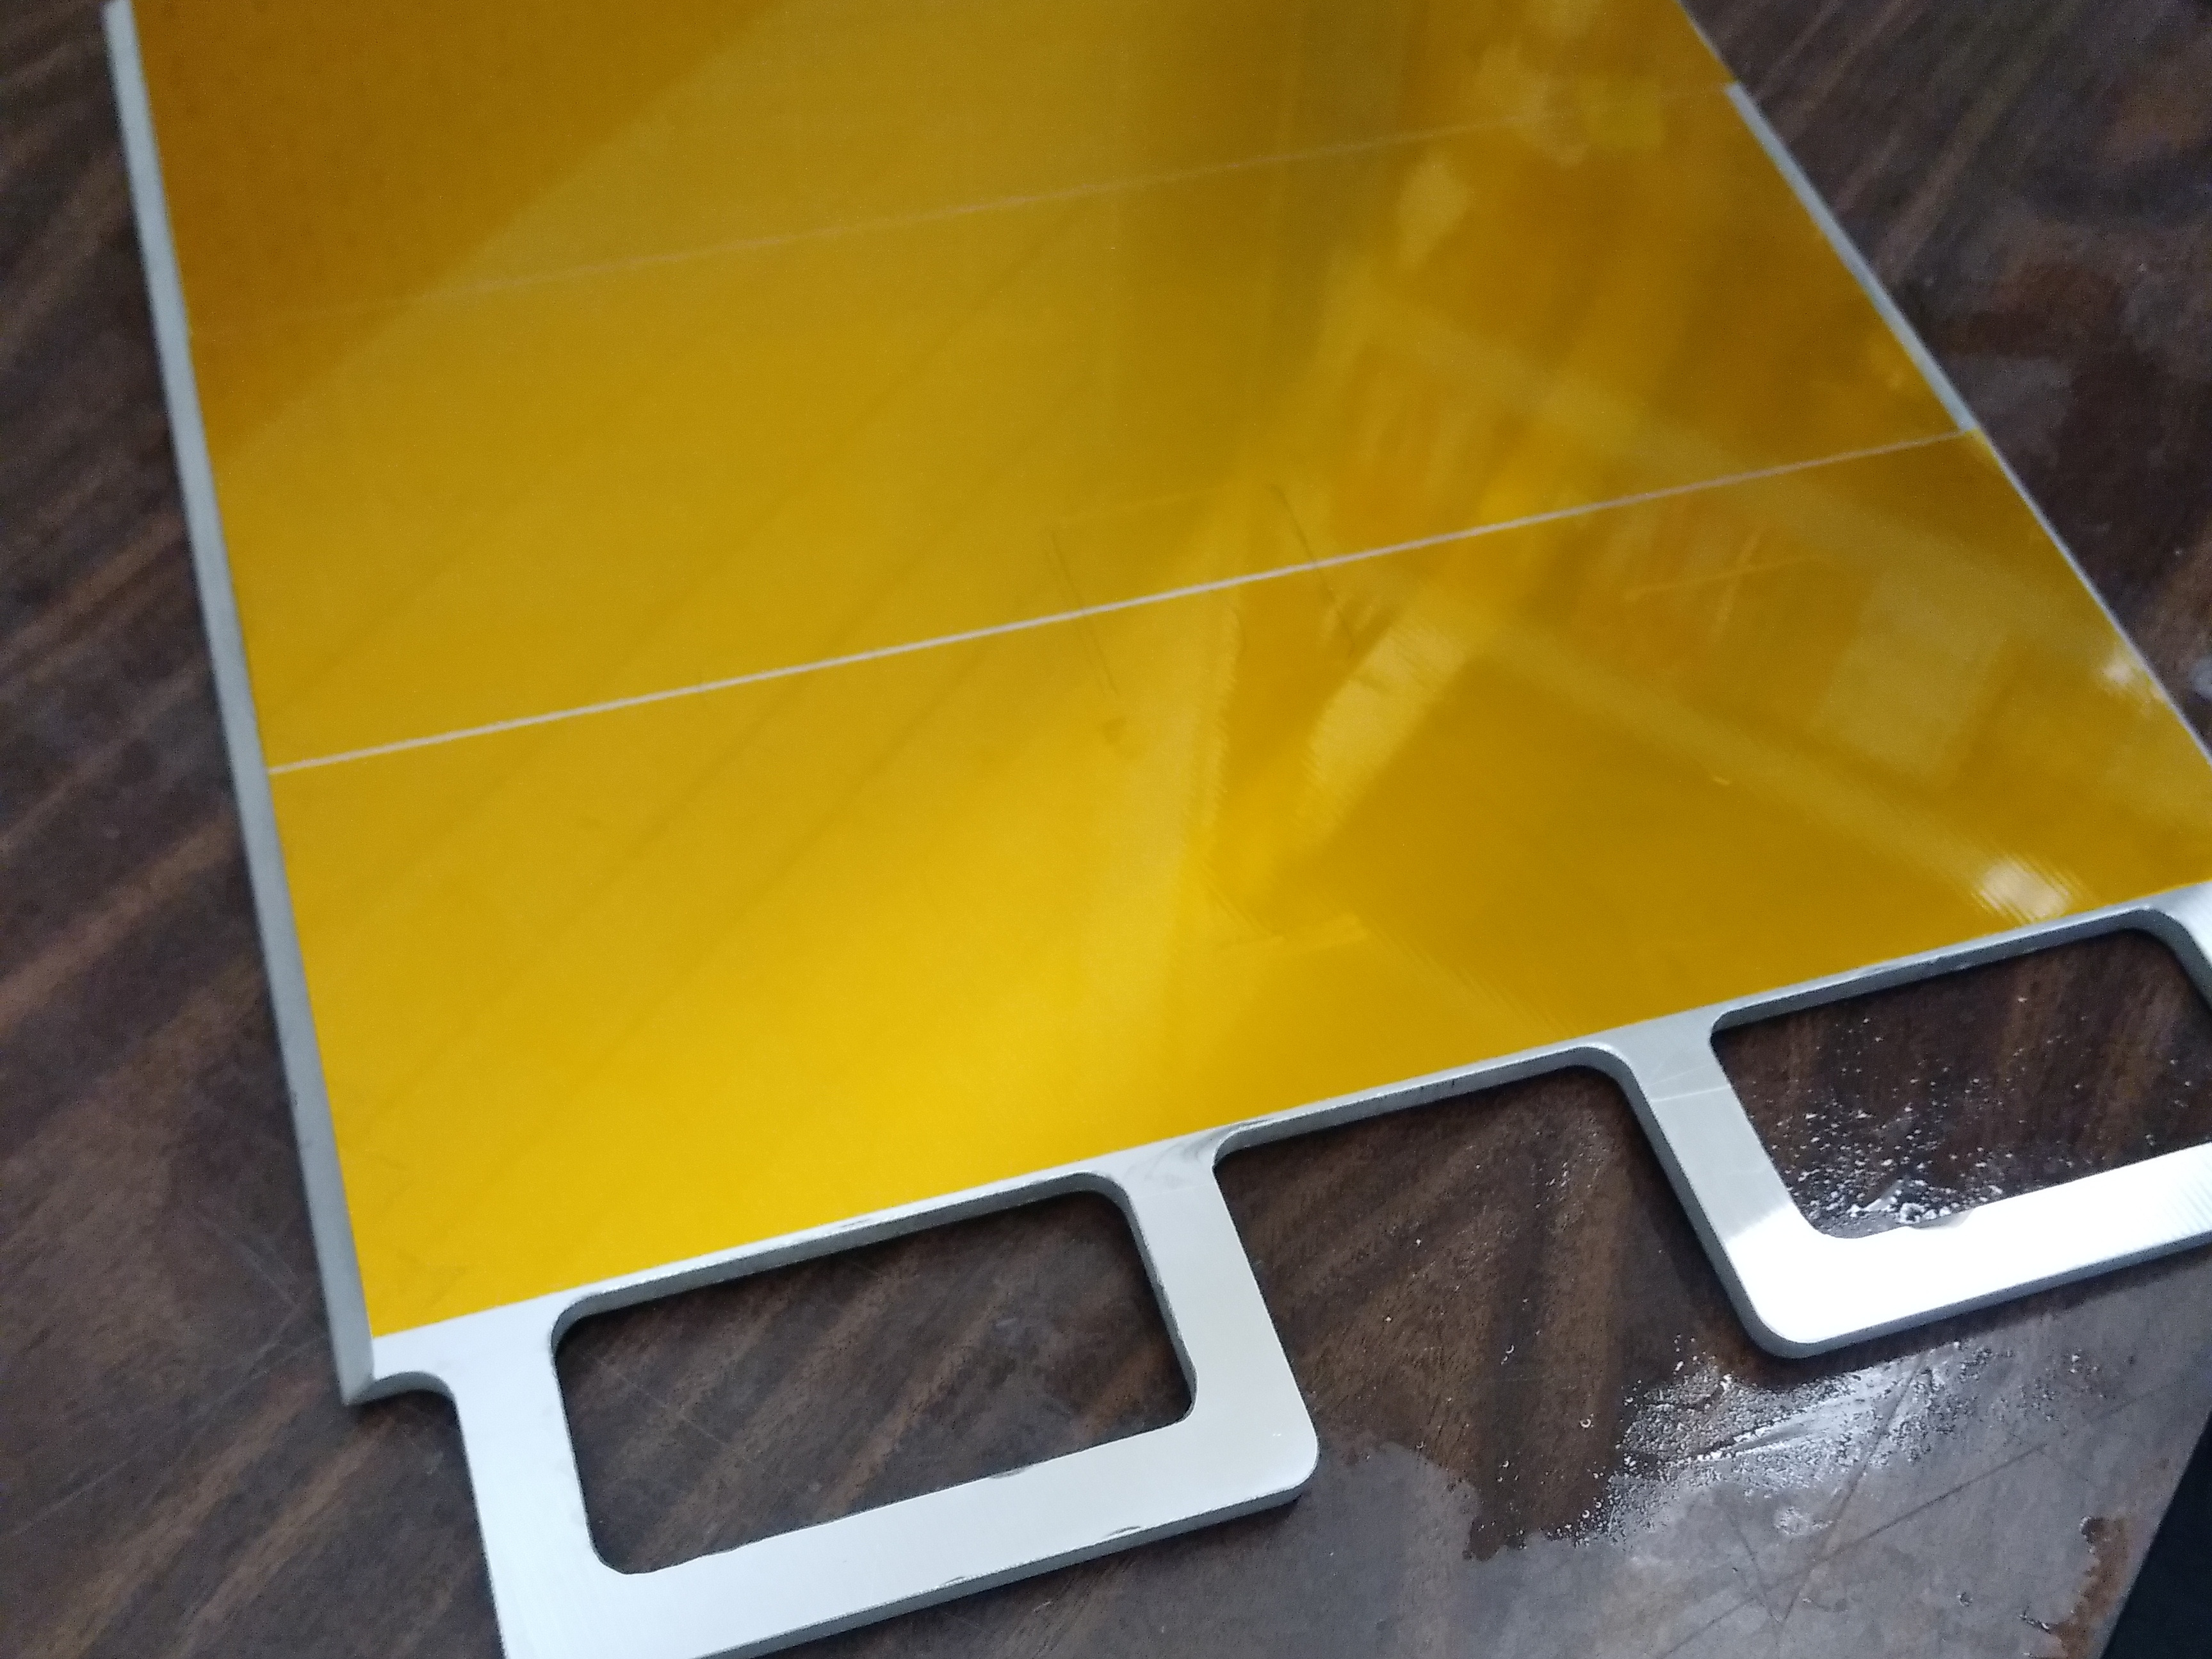
- Carefully install one of the Kapton® polyimide tape strip onto the build plate top surface.
- Make sure that there is a 1 mm (0.04 inch) clearance around the perimeter of the build plate print surface.
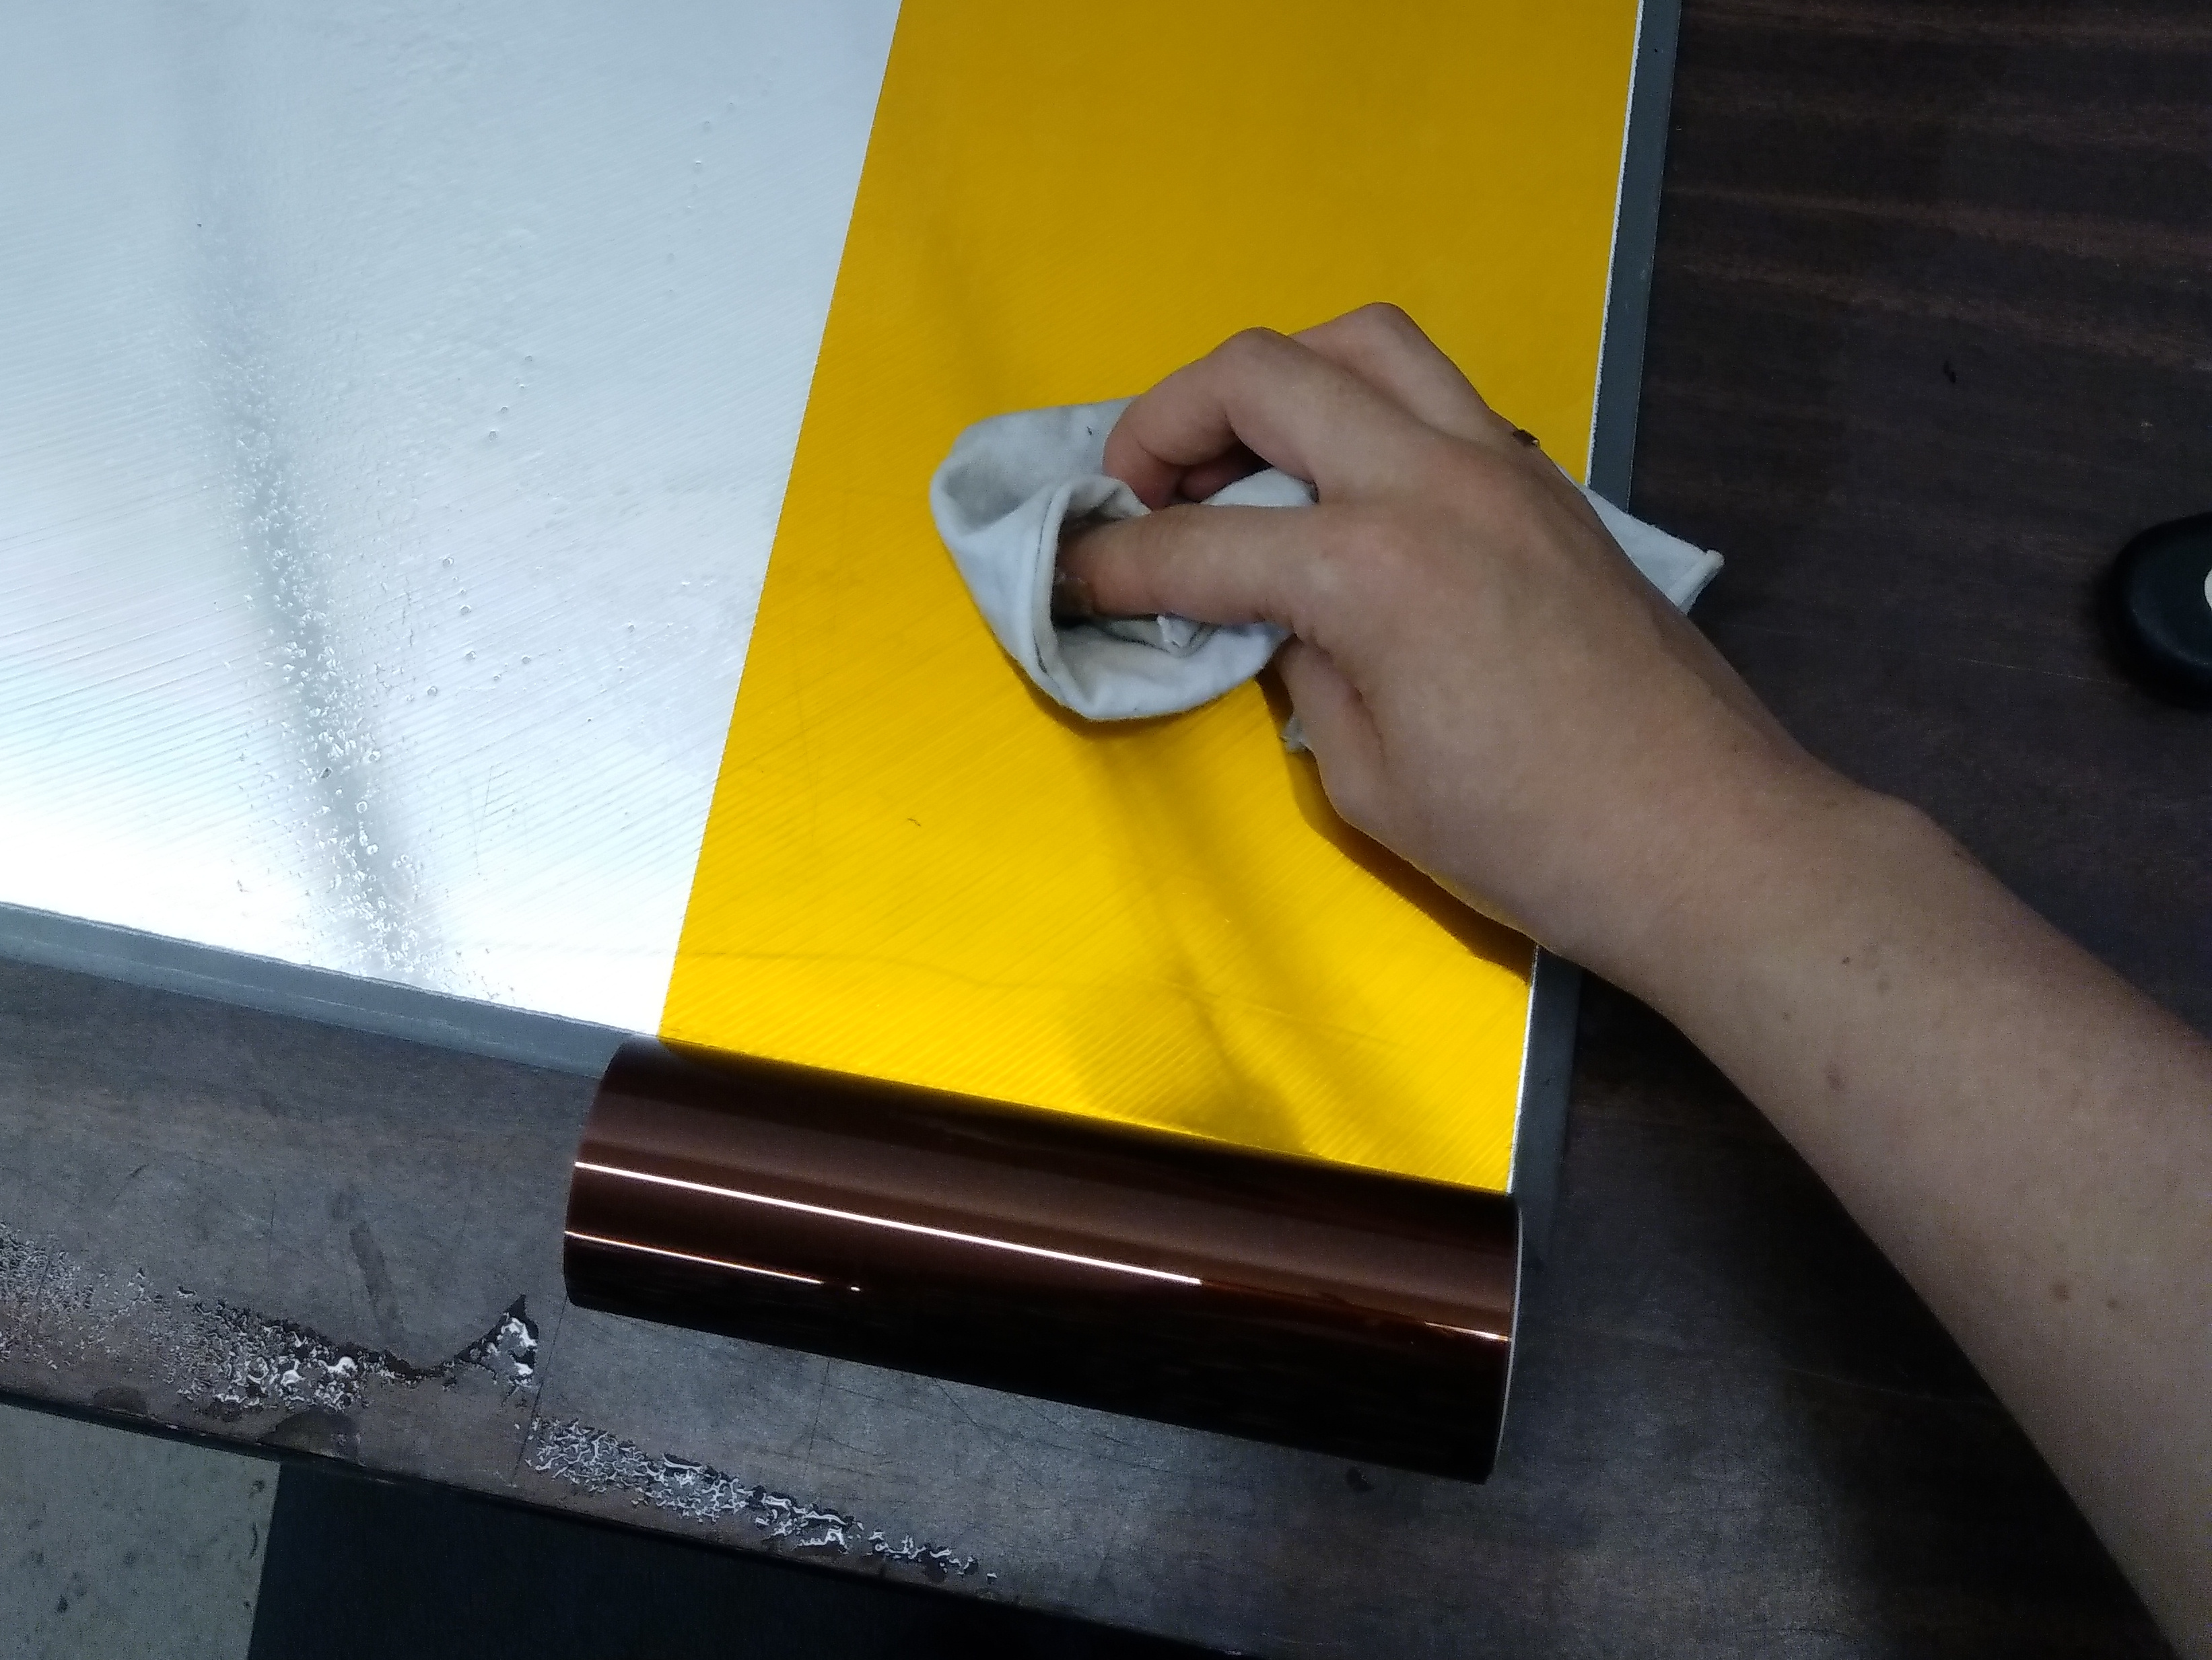
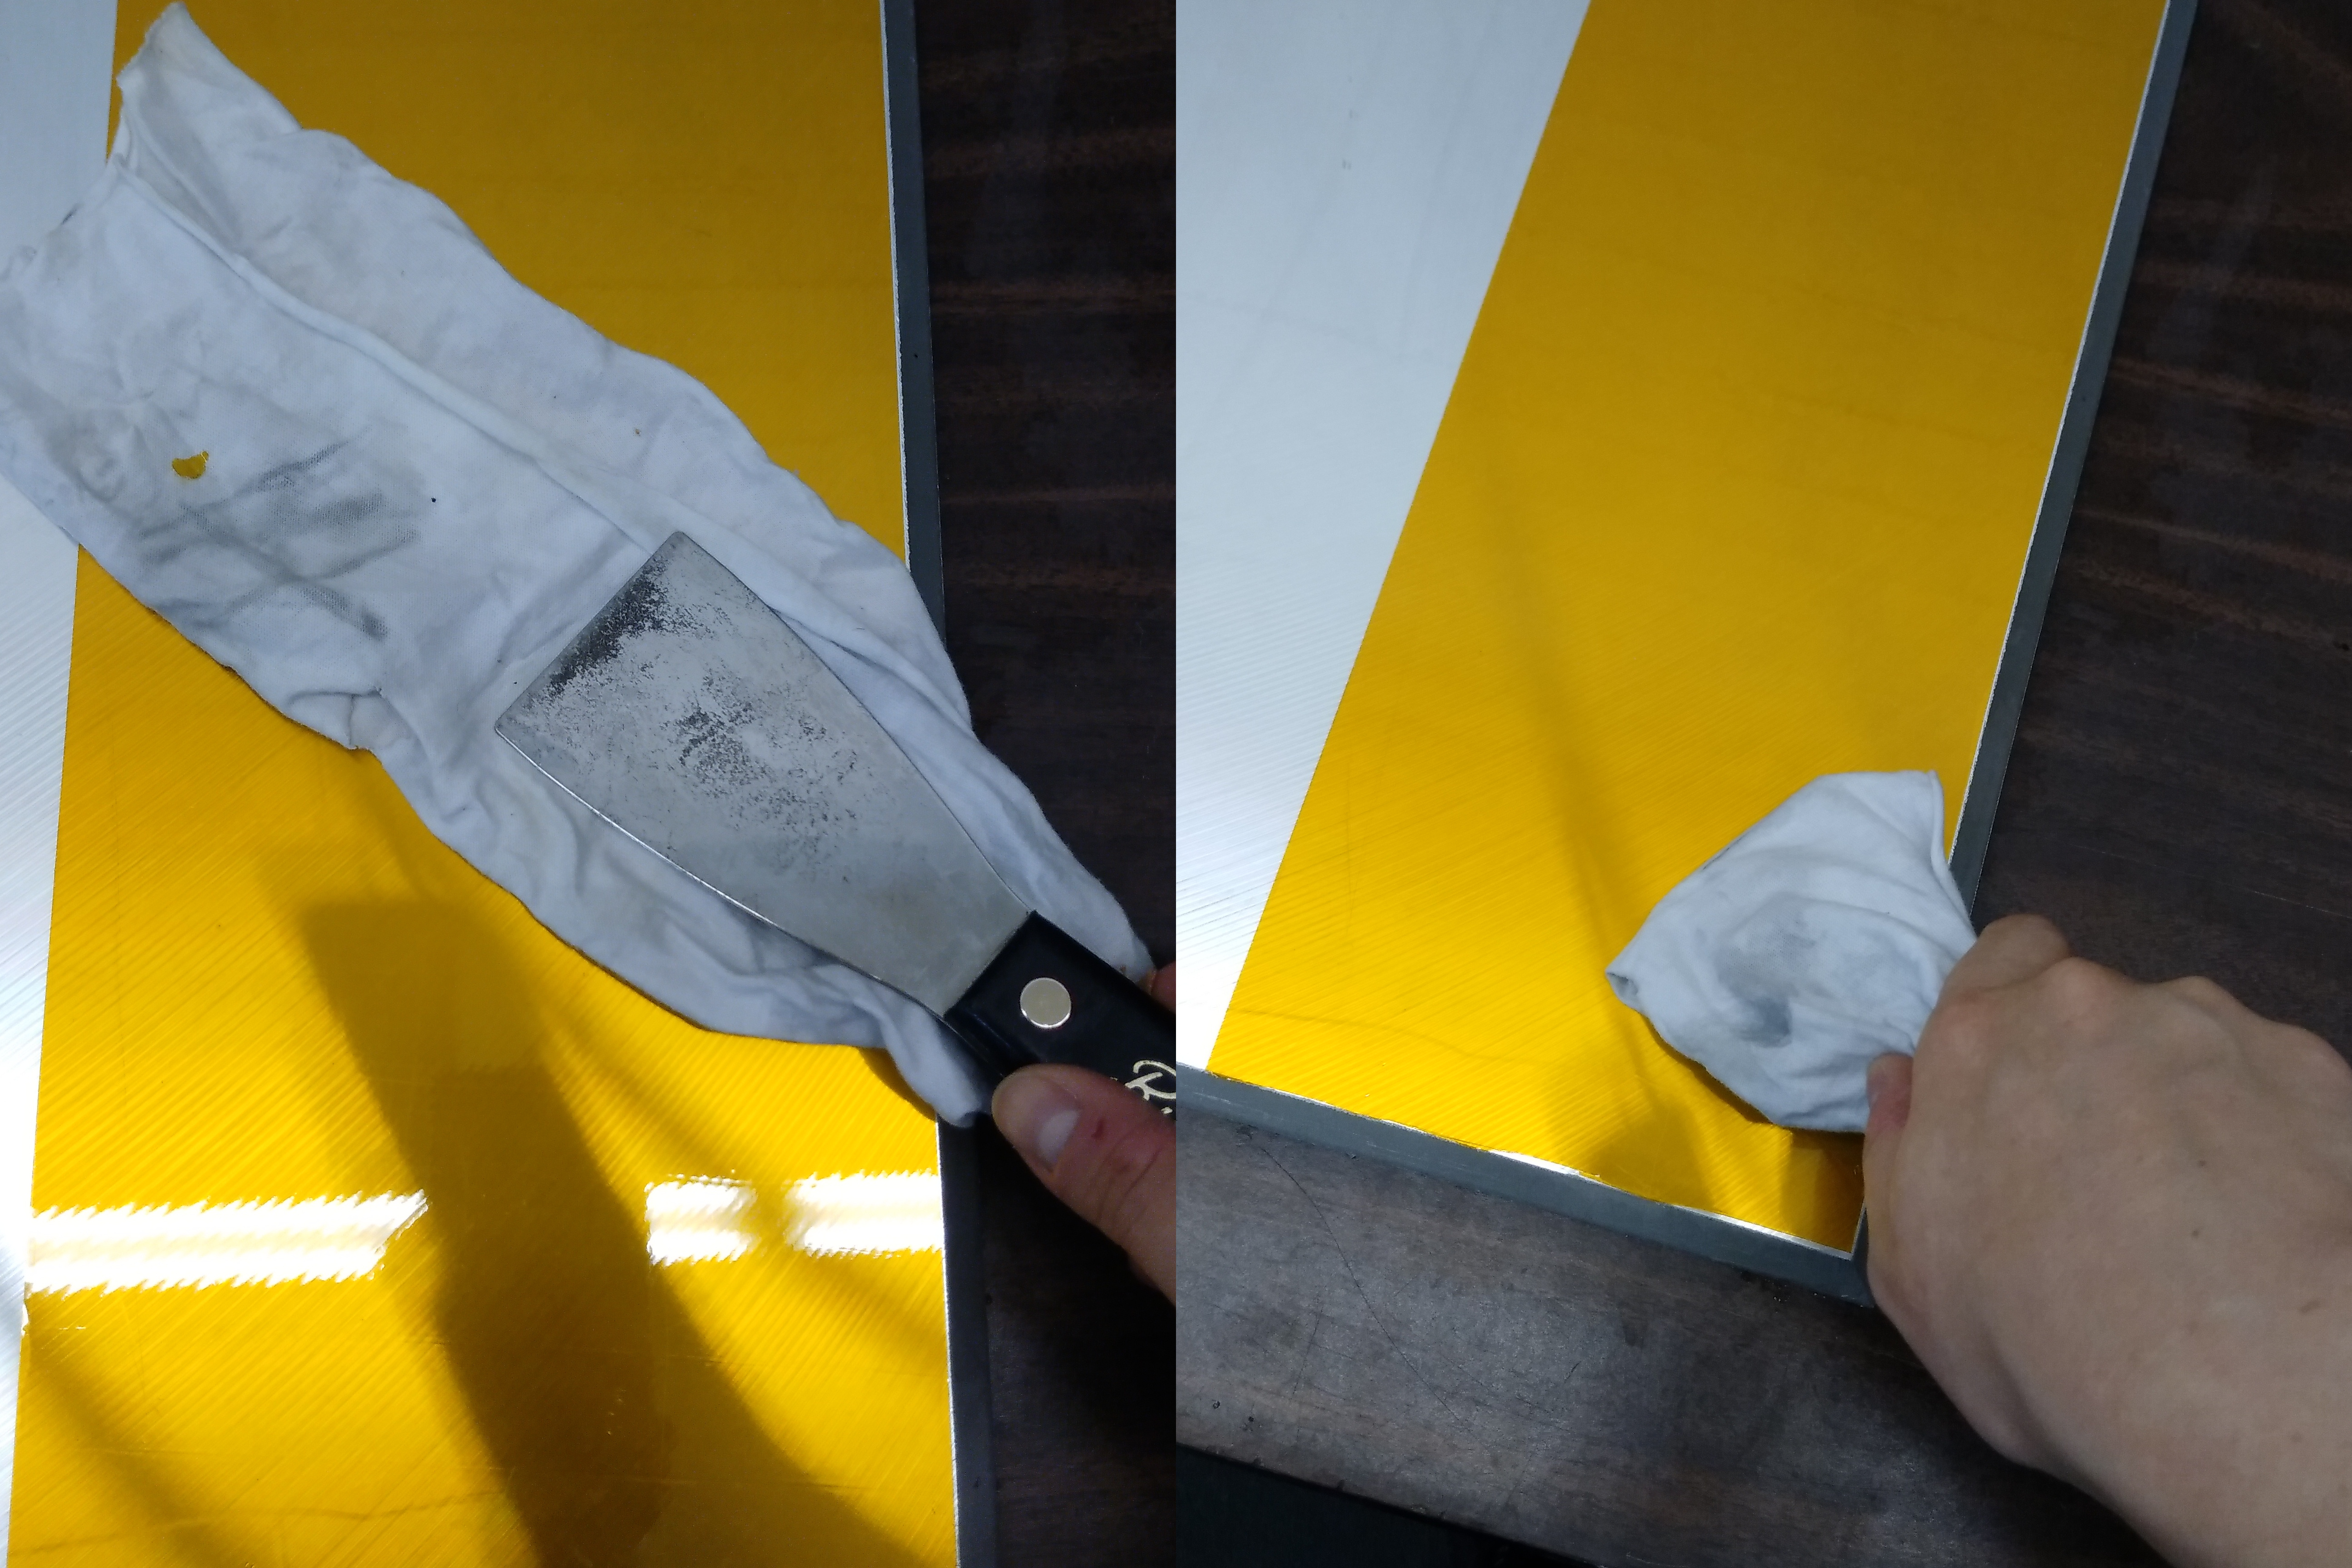
- Use the plastic putty knife to press the Kapton® polyimide tape strip onto the build plate top surface as follows:
- Start at the center of Kapton® polyimide tape strip and carefully apply pressure towards the edges to extract the soap and water solution.
- Use a clean lint-free rag to absorb the soap and water solution that exits from the edge of the Kapton® polyimide tape strip.
- Do step 4a and 4b until the full area of the Kapton® polyimide tape strip is correctly seated onto the build plate top surface.
- Carefully install a Kapton® polyimide tape strip onto the build plate top surface:
- Apply a small quantity of the soap and water solution onto the full surface of build plate top surface.
- Make sure that the Kapton® polyimide tape strip does not overlap with the Kapton® polyimide tape strip that was previously installed.
- Make sure that there is a 1 mm (0.04 inch) clearance around the perimeter of the build plate print surface.
- Do step 4 as necessary.
- Do step 5 until the Kapton® polyimide tape successfully covers the build plate print surface.
- Let the Kapton® polyimide tape cure onto the low-temperature build plate for 12 hours before it is returned to service.
Test and Return to Service
- Install the build plate. Refer to Install Build Plate.
- Make sure that you remove all the tools from the build chamber.
- Close the build chamber door.
- Release the E-stop button.
- Home XYZ.