Install Build Plate
| Model | [ ] AON M2+ (CE) | [ ] AON M2+ (R-NZ) | [ ] AON M2+ | [•] AON-M2 2020 | [•] AON-M2 |
| Category | [ ] Installation | [•] Operation | [ ] Maintenance |
Summary
The procedure that follows gives instructions on how to:
- Remove the build plate
- Inspect and clean the build plate
- Install the build plate.
Estimated time: 15 minutes
For instructions on how to install the build sheet onto the vacuum chuck, refer to the Install Build Sheet procedure.
Tools
| Qty | Description | Specification |
|---|---|---|
| 1 | Hex Key | 3 mm |
| 1 | Hex Key | 2.5 mm |
| A/R | Rags | Lint-free |
| A/R | Isopropyl Alcohol | 99% |
Parts Information
| Qty | Part Number | Description |
|---|---|---|
| 1 | M2-SUB-BUILD-PLATE-KPT | Aluminum Build Plate with Kapton® Surface |
| 1 | M2-SUB-BUILD-PLATE-HT | High Temperature Build Plate |
| 1 | K-R-M2-SUB-BUILD-PLATE-HT | High Temperature Build Plate (Refurbished) |
| 1 | K-0602-002 | Dovetail Clamp Assembly |
Reach out to our Customer Success team at help@aon3d.com for genuine AON3D replacement part(s).
Personal Protective Equipment
| Qty | Description | Minimum Specification |
|---|---|---|
| 1 | Safety Eyewear | ANSI/ISEA Z87.1 |
| 1 | Safety Footwear | EN ISO 20345 or ASTM F2413 |
| A/R | Nitrile Gloves | ISO 2859-1 or ASTM D6319 |
| 1 | Heat-resistant Gloves | EN 407-2004 |
T-Tab System versus Dovetail Locking System
The AON-M2 2020 mechanism which holds the build plate onto the bed assembly has been improved since the original release of the AON-M2.
The AON-M2 2020 are equipped with the dovetail locking system as standard equipment.
The installation and removal instructions for the original T-Tab System, and the improved dovetail locking system, can be found on this page.
If the machine is equipped with the original T-Tab System, AON3D recommends the dovetail locking system as an upgrade for added reliability. There are no modifications needed to install the dovetail locking system onto the AON-M2 bed assembly.
 |
 |
|---|---|
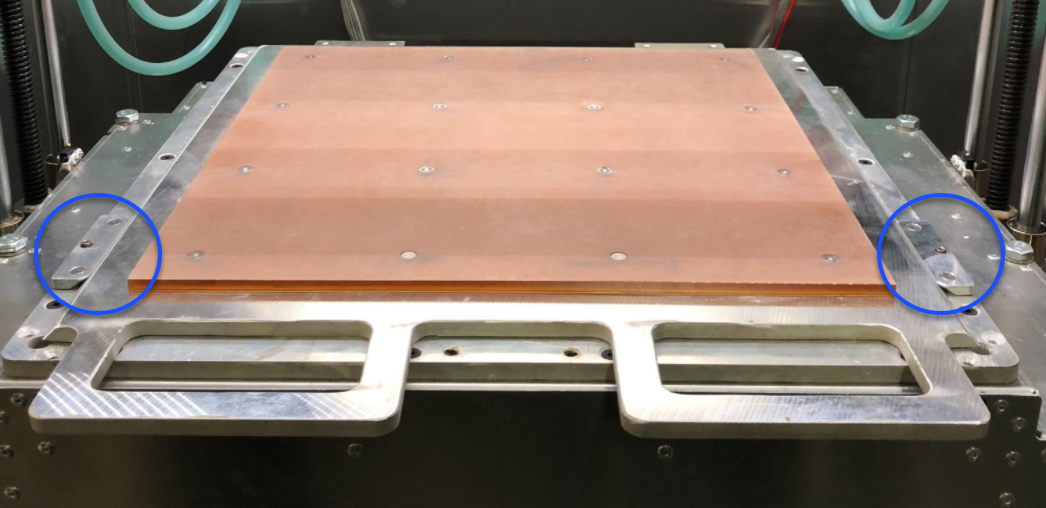
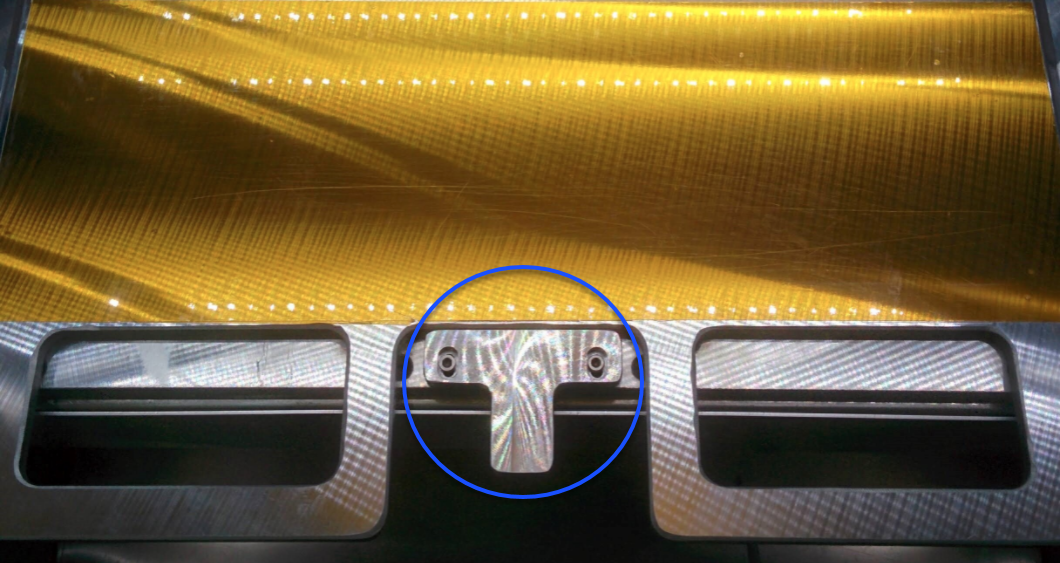
| Dovetail Locking System - two dovetail clamps found on the sides of the bed assembly. | T-Tab System - one T-shaped tab found at the front of the bed assembly. |
Prepare The Machine
- Home XYZ.
- Lower the Z-axis by 300 mm.
- Push the E-stop button.
- Open the build chamber door.
Dovetail Locking System
Remove the Build Plate
All machine components are hot at this point. Persons are to wear the correct personal protective equipment to prevent injuries.
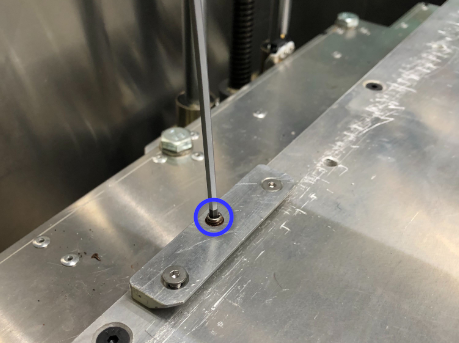
- Use the 2.5 mm hex key to loosen the set screw that is found at the center of the dovetail clamp.
- Do not loosen the four flathead hex screws found on the two dovetail clamps.
- Do step 1 for the dovetail clamp found on the adjacent side of the bed.
- Carefully pull out the build plate from the front of the machine to remove.
Inspect and Clean the Build Plate
- Inspect the build plate, the bed assembly, and the two dovetail clamp surfaces. Make sure that there are no damages.
- Make sure that the build plate, bed surfaces, and the two dovetail clamps are clean of solvents and/or unwanted materials. Use a lint-free rag and isopropyl alcohol to clean all surfaces, if necessary.
- Let the surfaces dry for two minutes.
Install the Build Plate
Make sure to carefully put the build plate into position on the edge of the bed assembly. Failure to do so can cause aluminum burrs that can make the build surface uneven. Put a piece of soft material between the bed assembly and build plate while putting the build plate in position. Remove the soft material before the clamps are tightened.
- Carefully put the build plate into position on the edge of the bed assembly.
- Carefully push the build plate onto the bed assembly.
- Make sure to slide the build plate under the two dovetail clamps.
- Carefully push the build plate until it makes light contact with the stopper found at the rear of the bed assembly.
- Use the 2.5 mm hex key to tighten the two set screws, found on the two dovetail clamps, in equal increments. Do not tighten too much.
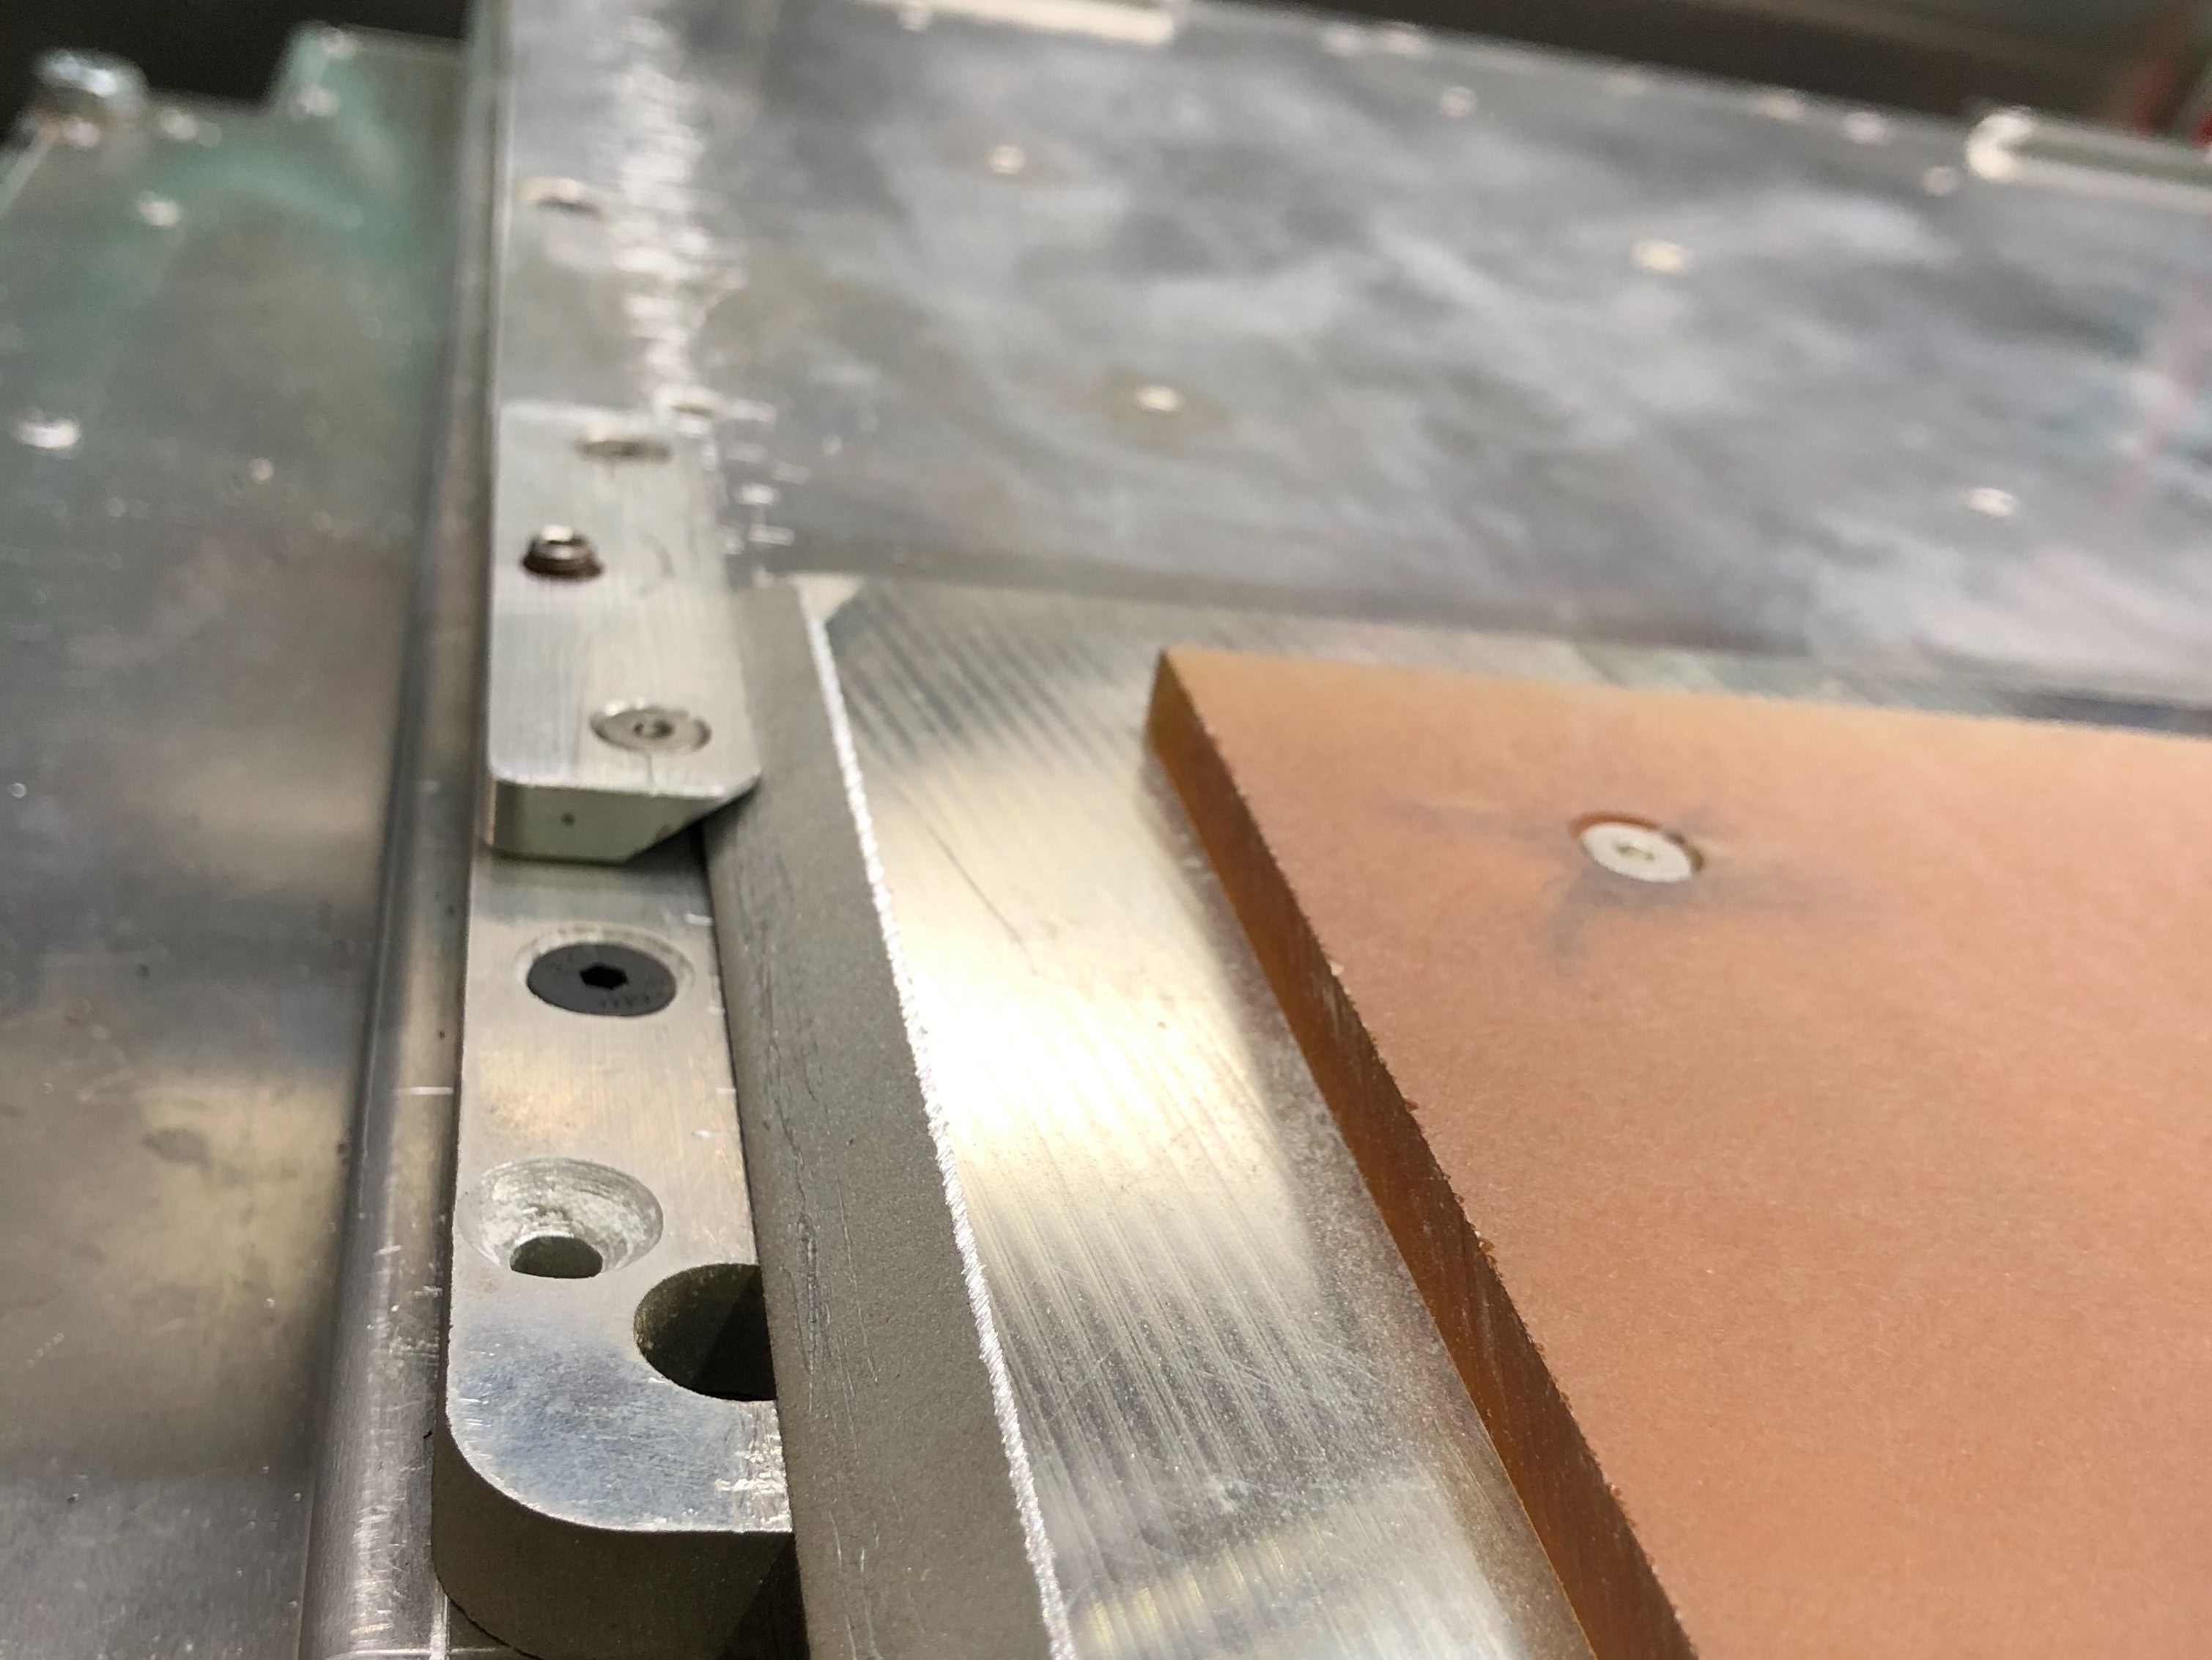
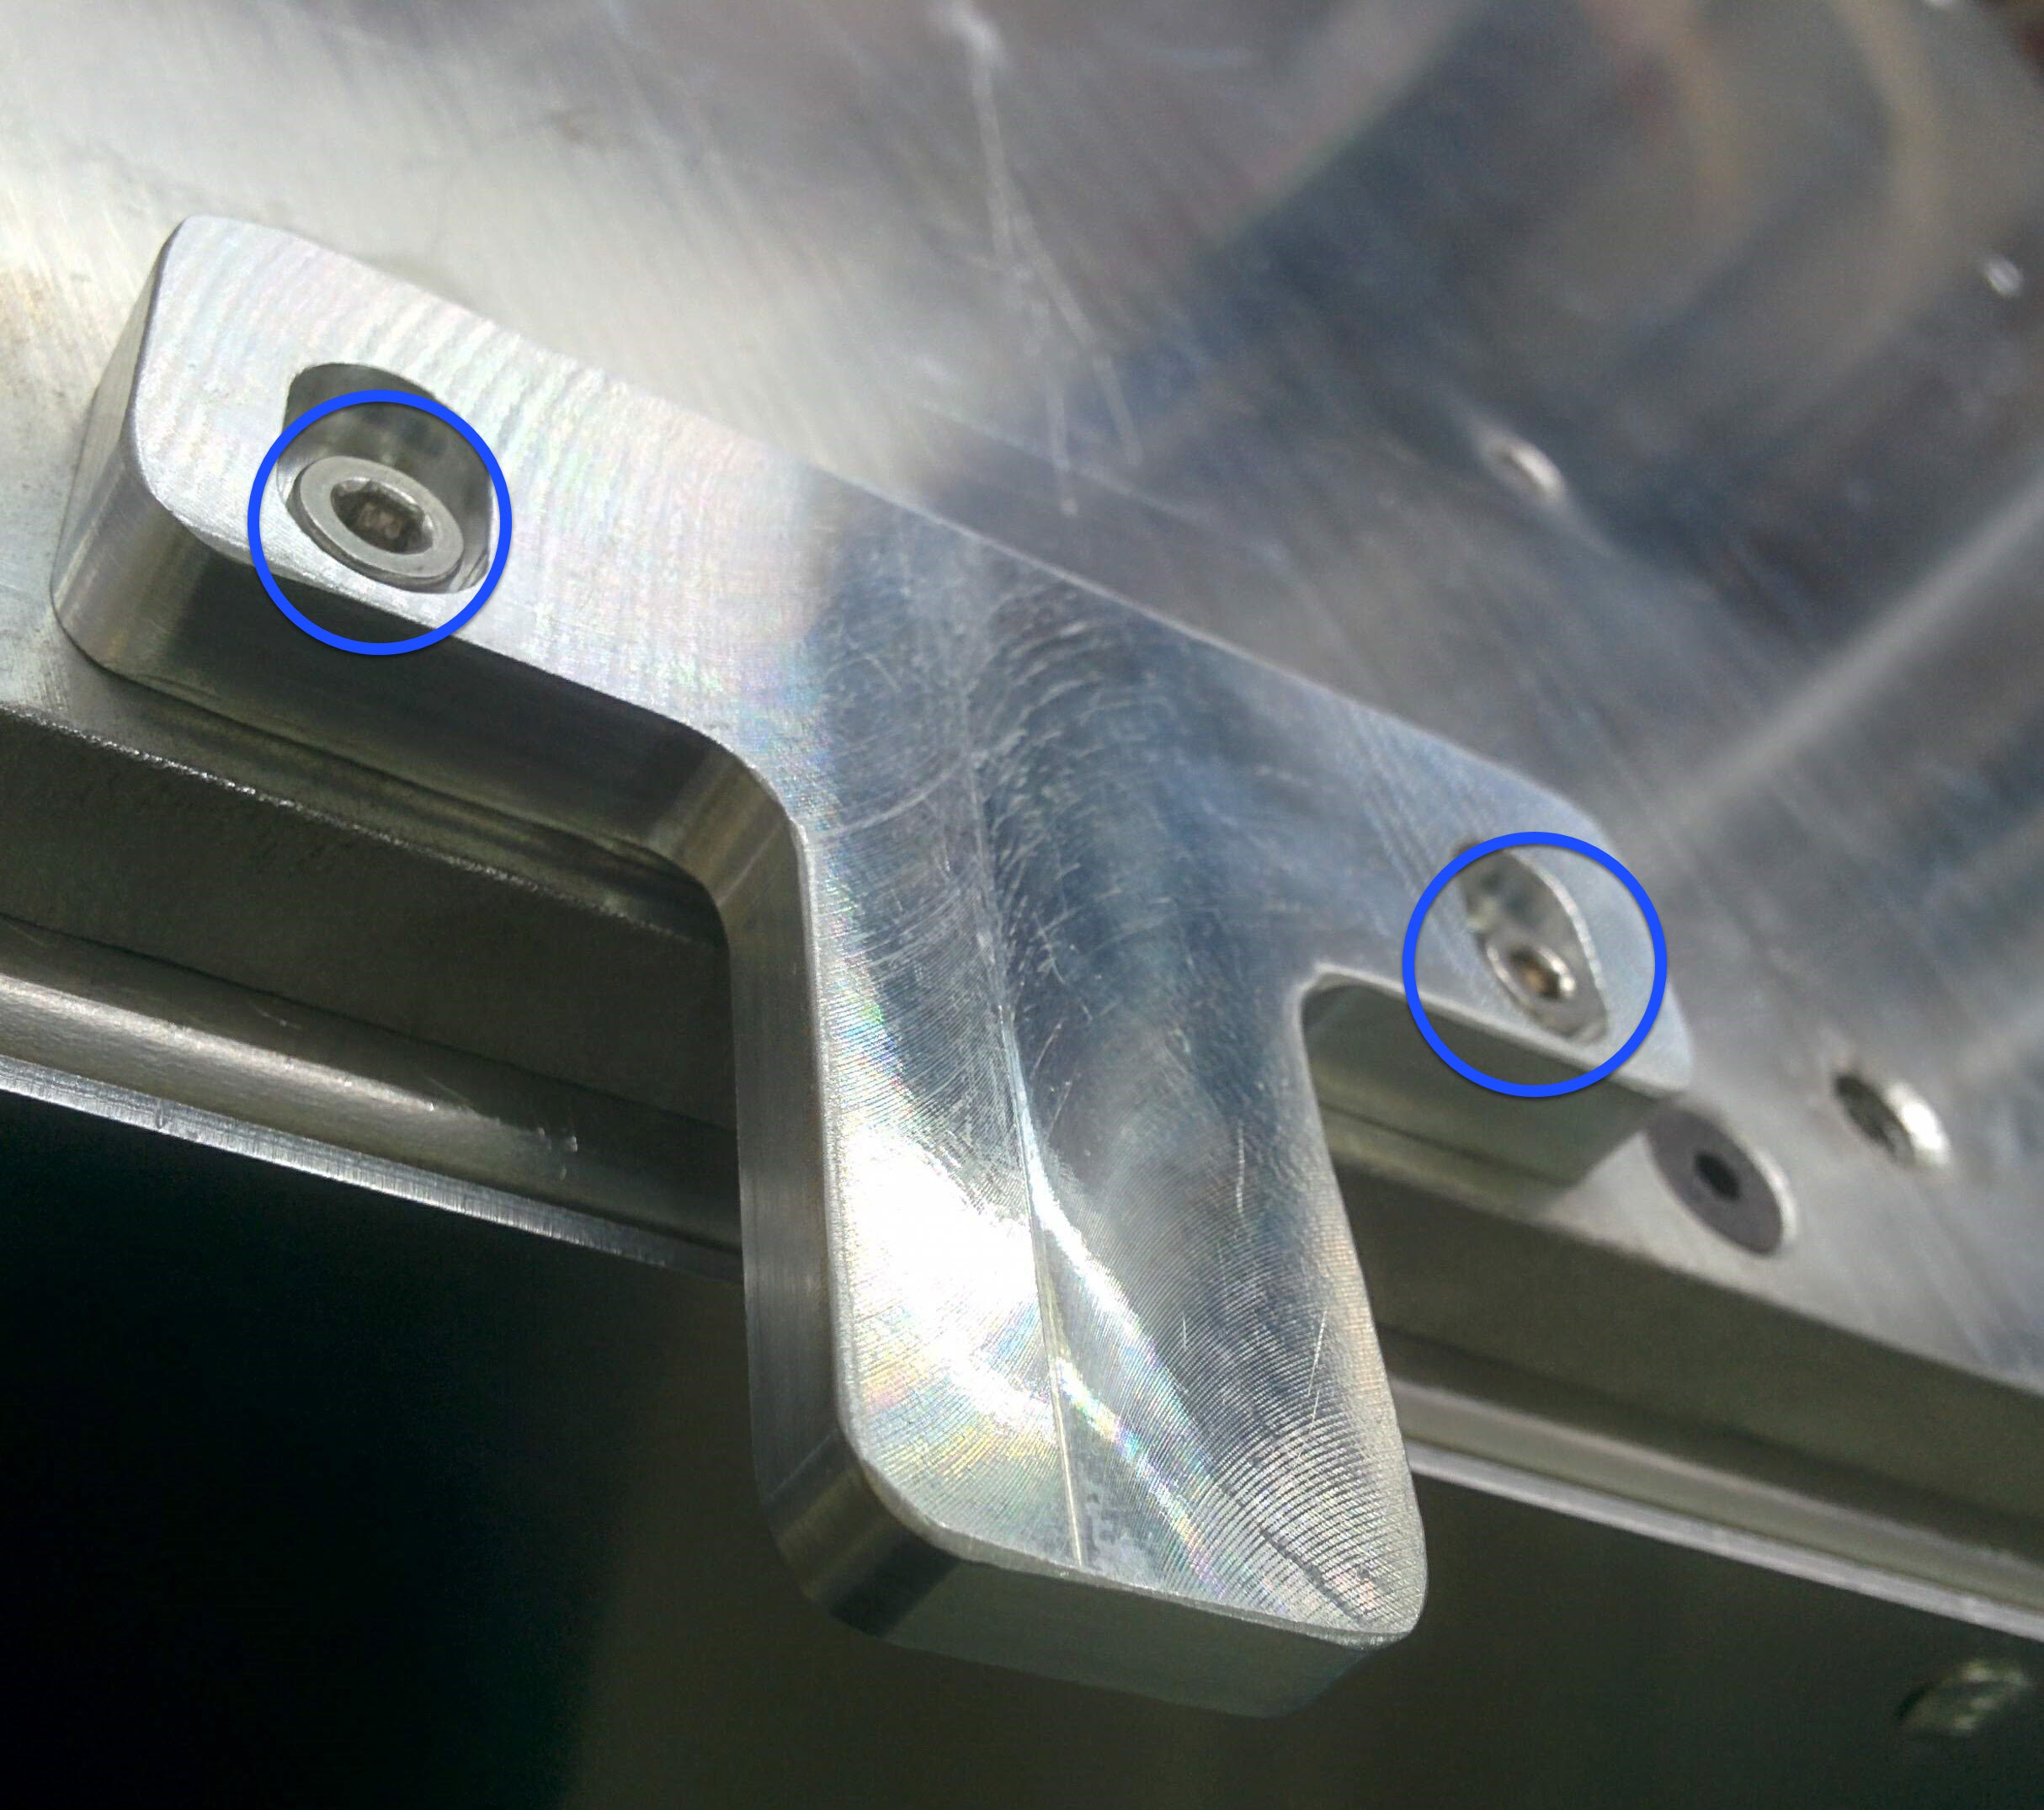
Make sure that the two tightened set screws are at the same level, or lower, than the top surface of the dovetail clamps. If the set screw(s) is(are) above the dovetail clamp top surface, the toolhead(s) can collide into the the set screw(s) and damage the toolhead(s).
- Lightly pull on the build plate handles to make sure that the build plate is tight on the bed assembly. If the build plate is not tight, use the 2.5 mm hex key to tighten two set screws until the build plate is correctly held onto the bed assembly.
Test and Return to Service
- Make sure that you remove all the tools from the build chamber.
- Close the build chamber door.
- Release the E-stop button.
- Home XYZ.
- Preheat the build chamber components. Refer to the Preheat Build Chamber Components procedure.
- Calibrate the Z-Axis. Refer to the Z Offset Calibration procedure.
- Probe the build platform. Refer to the Auto Bed Leveling procedure.
T-Tab System
Remove the Build Plate
All machine components are hot at this point. Persons are to wear the correct personal protective equipment to prevent injuries.
- Open the build chamber door.
- Use the 3 mm hex key to remove the two cap screws found inside the T-shaped tab.
- Remove the T-shaped tab.
- Carefully pull on the build plate to remove.
Inspect and Clean the Build Plate
- Inspect the build plate and bed surfaces. Make sure that there are no damages.
- Make sure that the build plate and bed surfaces are clean of solvents and/or unwanted materials. Use a lint-free rag and isopropyl alcohol to clean the build plate and bed surfaces, if necessary.
- Let the surfaces dry for two minutes.
Install the Build Plate
Make sure to carefully put the build plate into position on the edge of the bed assembly. Failure to do so can cause aluminum burrs that can make the build surface uneven. Put a piece of soft material between the bed assembly and build plate while putting the build plate in position. Remove the soft material before the clamps are tightened.
- Carefully put the build plate into position on the edge of the bed assembly.
- Carefully push the build plate onto the bed assembly.
- Carefully push the build plate until it makes light contact with the stopper found at the rear of the bed assembly.
- Install the T-shaped tab onto the bed assembly.
- Install the two cap screws through the T-shaped tab and into the bed assembly.
- Use the 3 mm hex key to tighten the two cap screws in equal increments. Do not tighten too much.
Test and Return to Service
- Make sure that you remove all the tools from the build chamber.
- Close the build chamber door.
- Release the E-stop button.
- Home XYZ.
- Preheat the build chamber components. Refer to the Preheat Build Chamber Components procedure.
- Calibrate the Z-axis. Refer to the Calibrate Z-Axis procedure.
- Probe the build platform. Refer to the Auto Bed Leveling procedure.