Slicer Setup
If you have not already, install Simplify3D® on your computer. Each Simplify3D® license gives two (2) floating seats. Should you require additional licenses, contact help@aon3d.com.
Simplify3D® lists minimum system requirements to run their software. Additional RAM has the greatest impact on software performance.
If you have not received a copy of your Simplify3D® license yet, contact help@aon3d.com.
Refer to Machine Identification for information on how to identify your machine model.
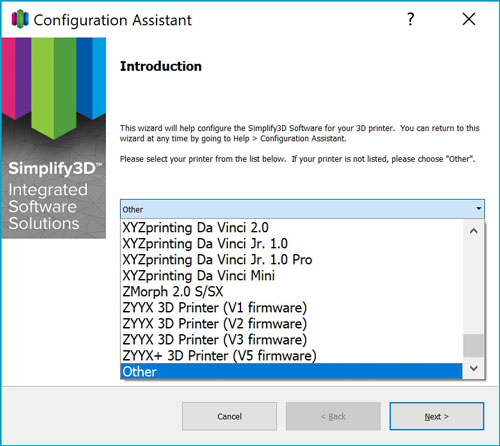
Once Simplify3D® is installed and opened for the first time, you will be faced with a configuration wizard.
-
Select Other when prompted.
-
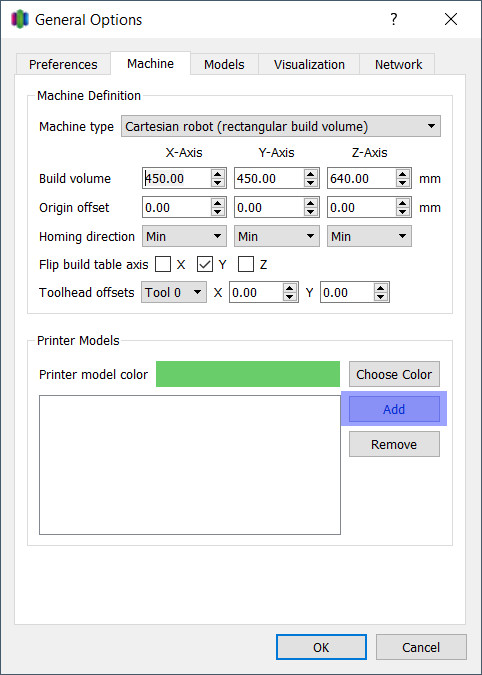
Fill out the values as shown in the photo below.
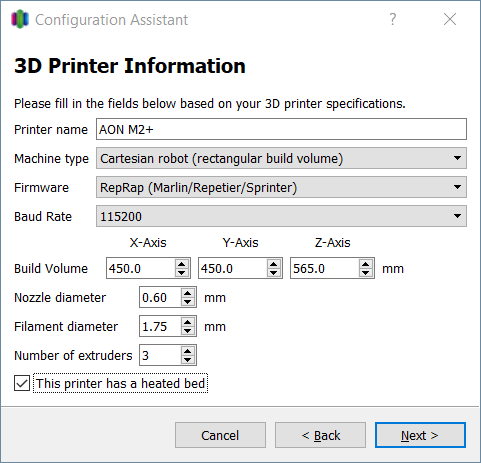
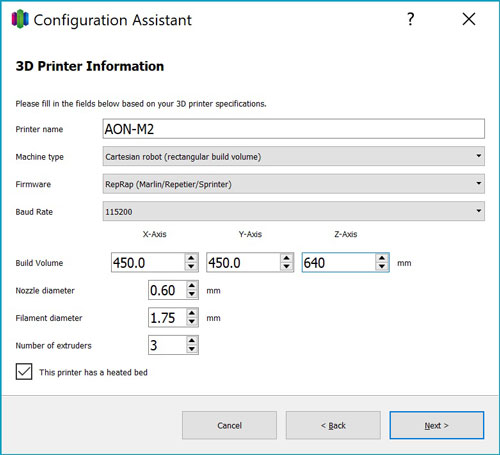
Although the machine only has two extruders, a third is setup to control the chamber temperature.
-
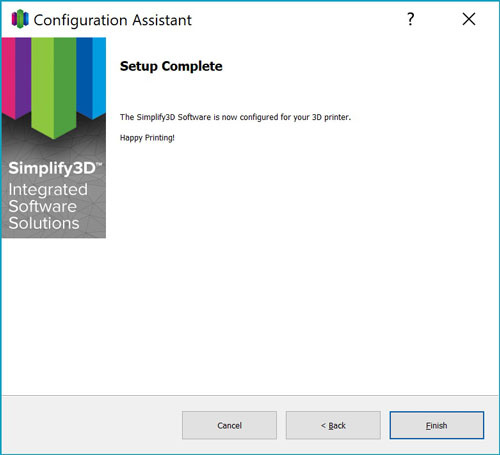
Click Finish.
-
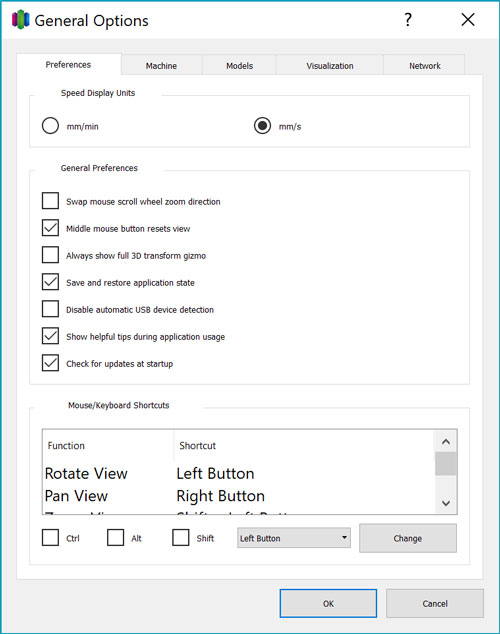
When the default user interface opens up, navigate to Tools > Options, and change the Speed Display Units to mm/s.
-
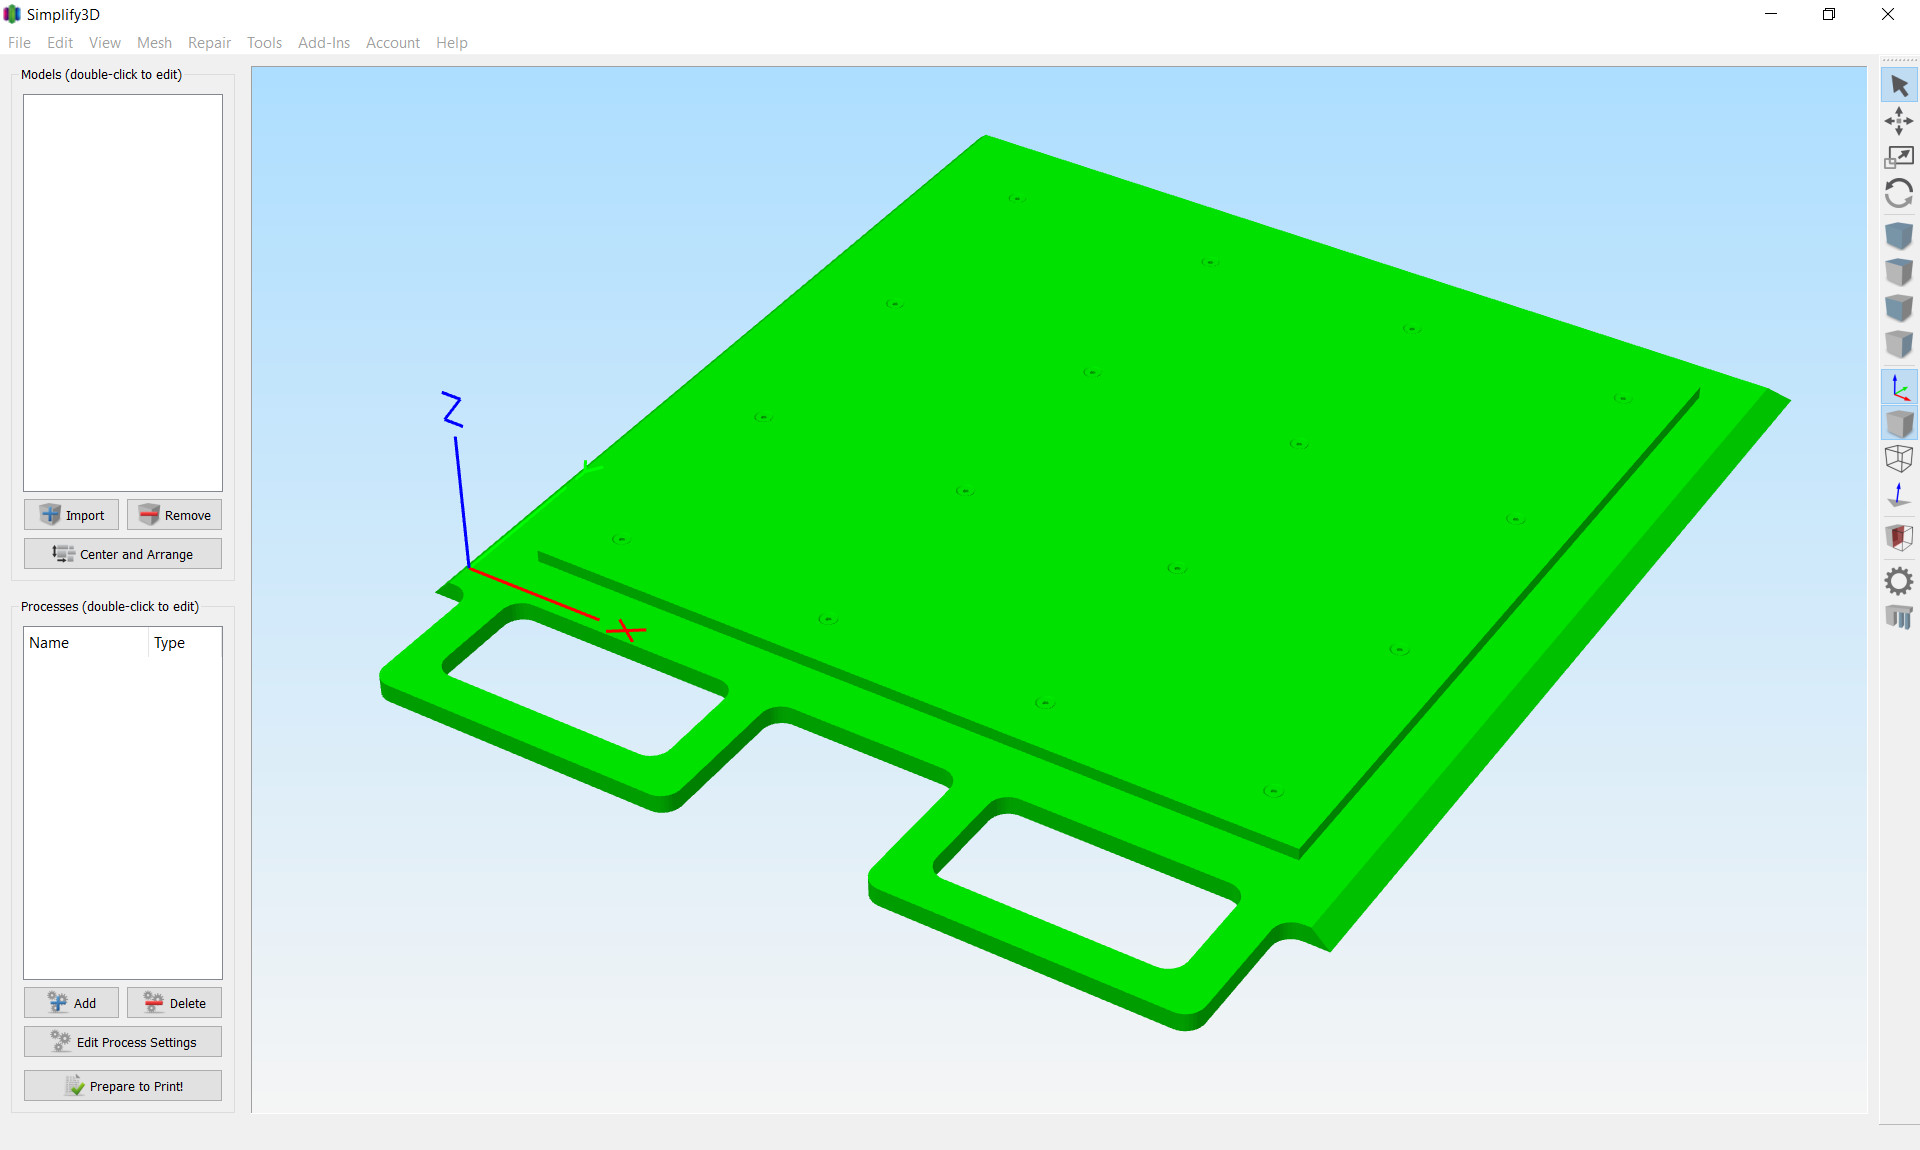
Download the AON-M2 High Temperature Build Plate or AON M2+ Vacuum Chuck STL file.
-
Select the Machine tab and click the Add button under Printer Models. Select the build plate STL from your downloaded files.
-
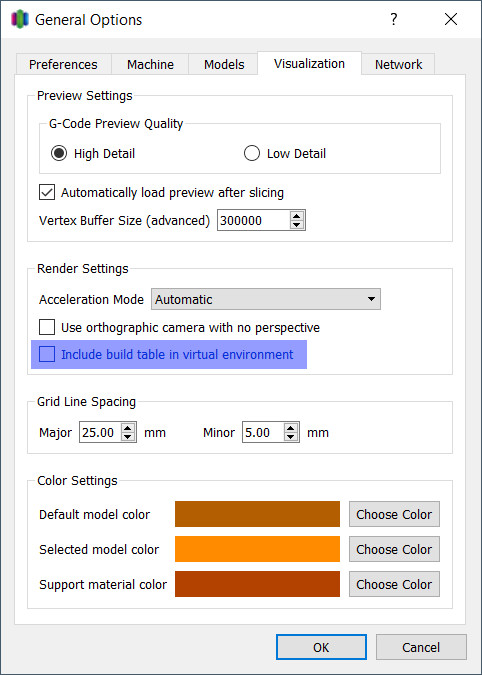
Select the Visualization tab, uncheck Include build table in virtual environment.
-
Select OK to save the changes that were made.
-
Follow the Quick Start guide to start your first print.
Simplify3D® have their own set of user documentation available here. Not all the advice given may be applicable as the AON-M2 has features unavailable on any other 3D printer. We recommend using their guide to become familiar just with its user interface.
As always, contact us at help@aon3d.com if you need further information.