Drain and Fill Coolant
| Model | [•] AON M2+ (CE) | [•] AON M2+ (R-NZ) | [•] AON M2+ | [•] AON-M2 2020 | [•] AON-M2 |
| Category | [•] Preventive | [•] Corrective | |||
| Frequency | [ ] Daily | [ ] Weekly | [ ] Monthly | [•] Yearly | [ ] As Needed |
Summary
The procedure that follows gives the instructions on how drain and fill the coolant in the cooling circuit.
Estimated time: 30 minutes
The coolant pump configurations are different between the AON M2+/AON-M2 2020 and the original AON-M2 model. Instructions for both configurations are found on this page:
- AON M2+ (CE), AON M2+ (R-NZ), AON M2+ and AON-M2 2020 Instructions
- AON-M2 Original Model Instructions
AON M2+ (CE), AON M2+ (R-NZ), AON M2+ and AON-M2 2020 Instructions
Tools
| Qty | Description | Specification |
|---|---|---|
| 1 | Screwdriver | Flathead, large |
| 1 | Vacuum Pump, Manual | N/A |
| 1 | Air Compressor | 15 psi (maximum) |
| 1 | Tube | Rubber, 1/4 inch (6.4 mm) ID x 2 ft. (600 mm) |
| 1 | Bucket | 3 liters minimum |
| A/R | Rags | Lint-free |
The use of compressed air, or a manual vacuum pump, can be used to drain the coolant from the cooling circuit.
Parts Information
None required.
Personal Protective Equipment
| Qty | Description | Minimum Specification |
|---|---|---|
| 1 | Safety Eyewear | ANSI/ISEA Z87.1 |
| A/R | Nitrile Gloves | ISO 2859-1 or ASTM D6319 |
Prepare The Machine
Make sure that there are no prints on the build surface. Remove print(s) before the procedure that follows is started. Failure to do so can cause a collision and cause damage to the machine component(s).
- Home XYZ.
- Push the E-stop button.
- Open the build chamber door.
- Wait until the build chamber, build platform, hot ends, and the coolant are at room temperature.
Drain the Coolant
Wait until all the machine components are at room temperature before you continue. Some machine components can be hot if the machine was recently used. Failure to do so can cause injuries.
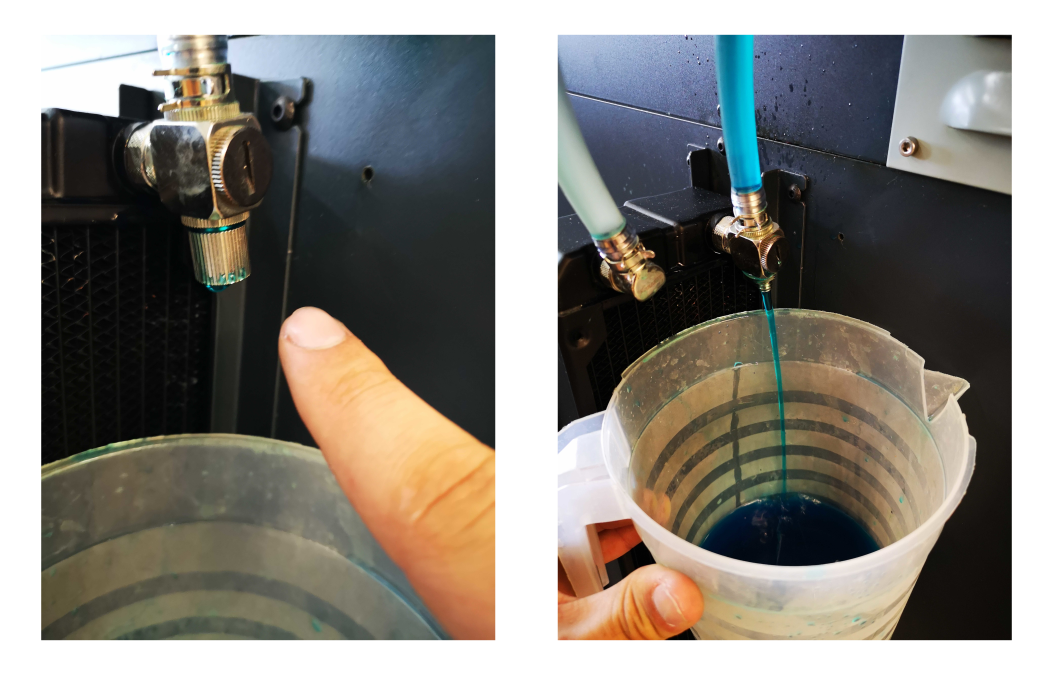
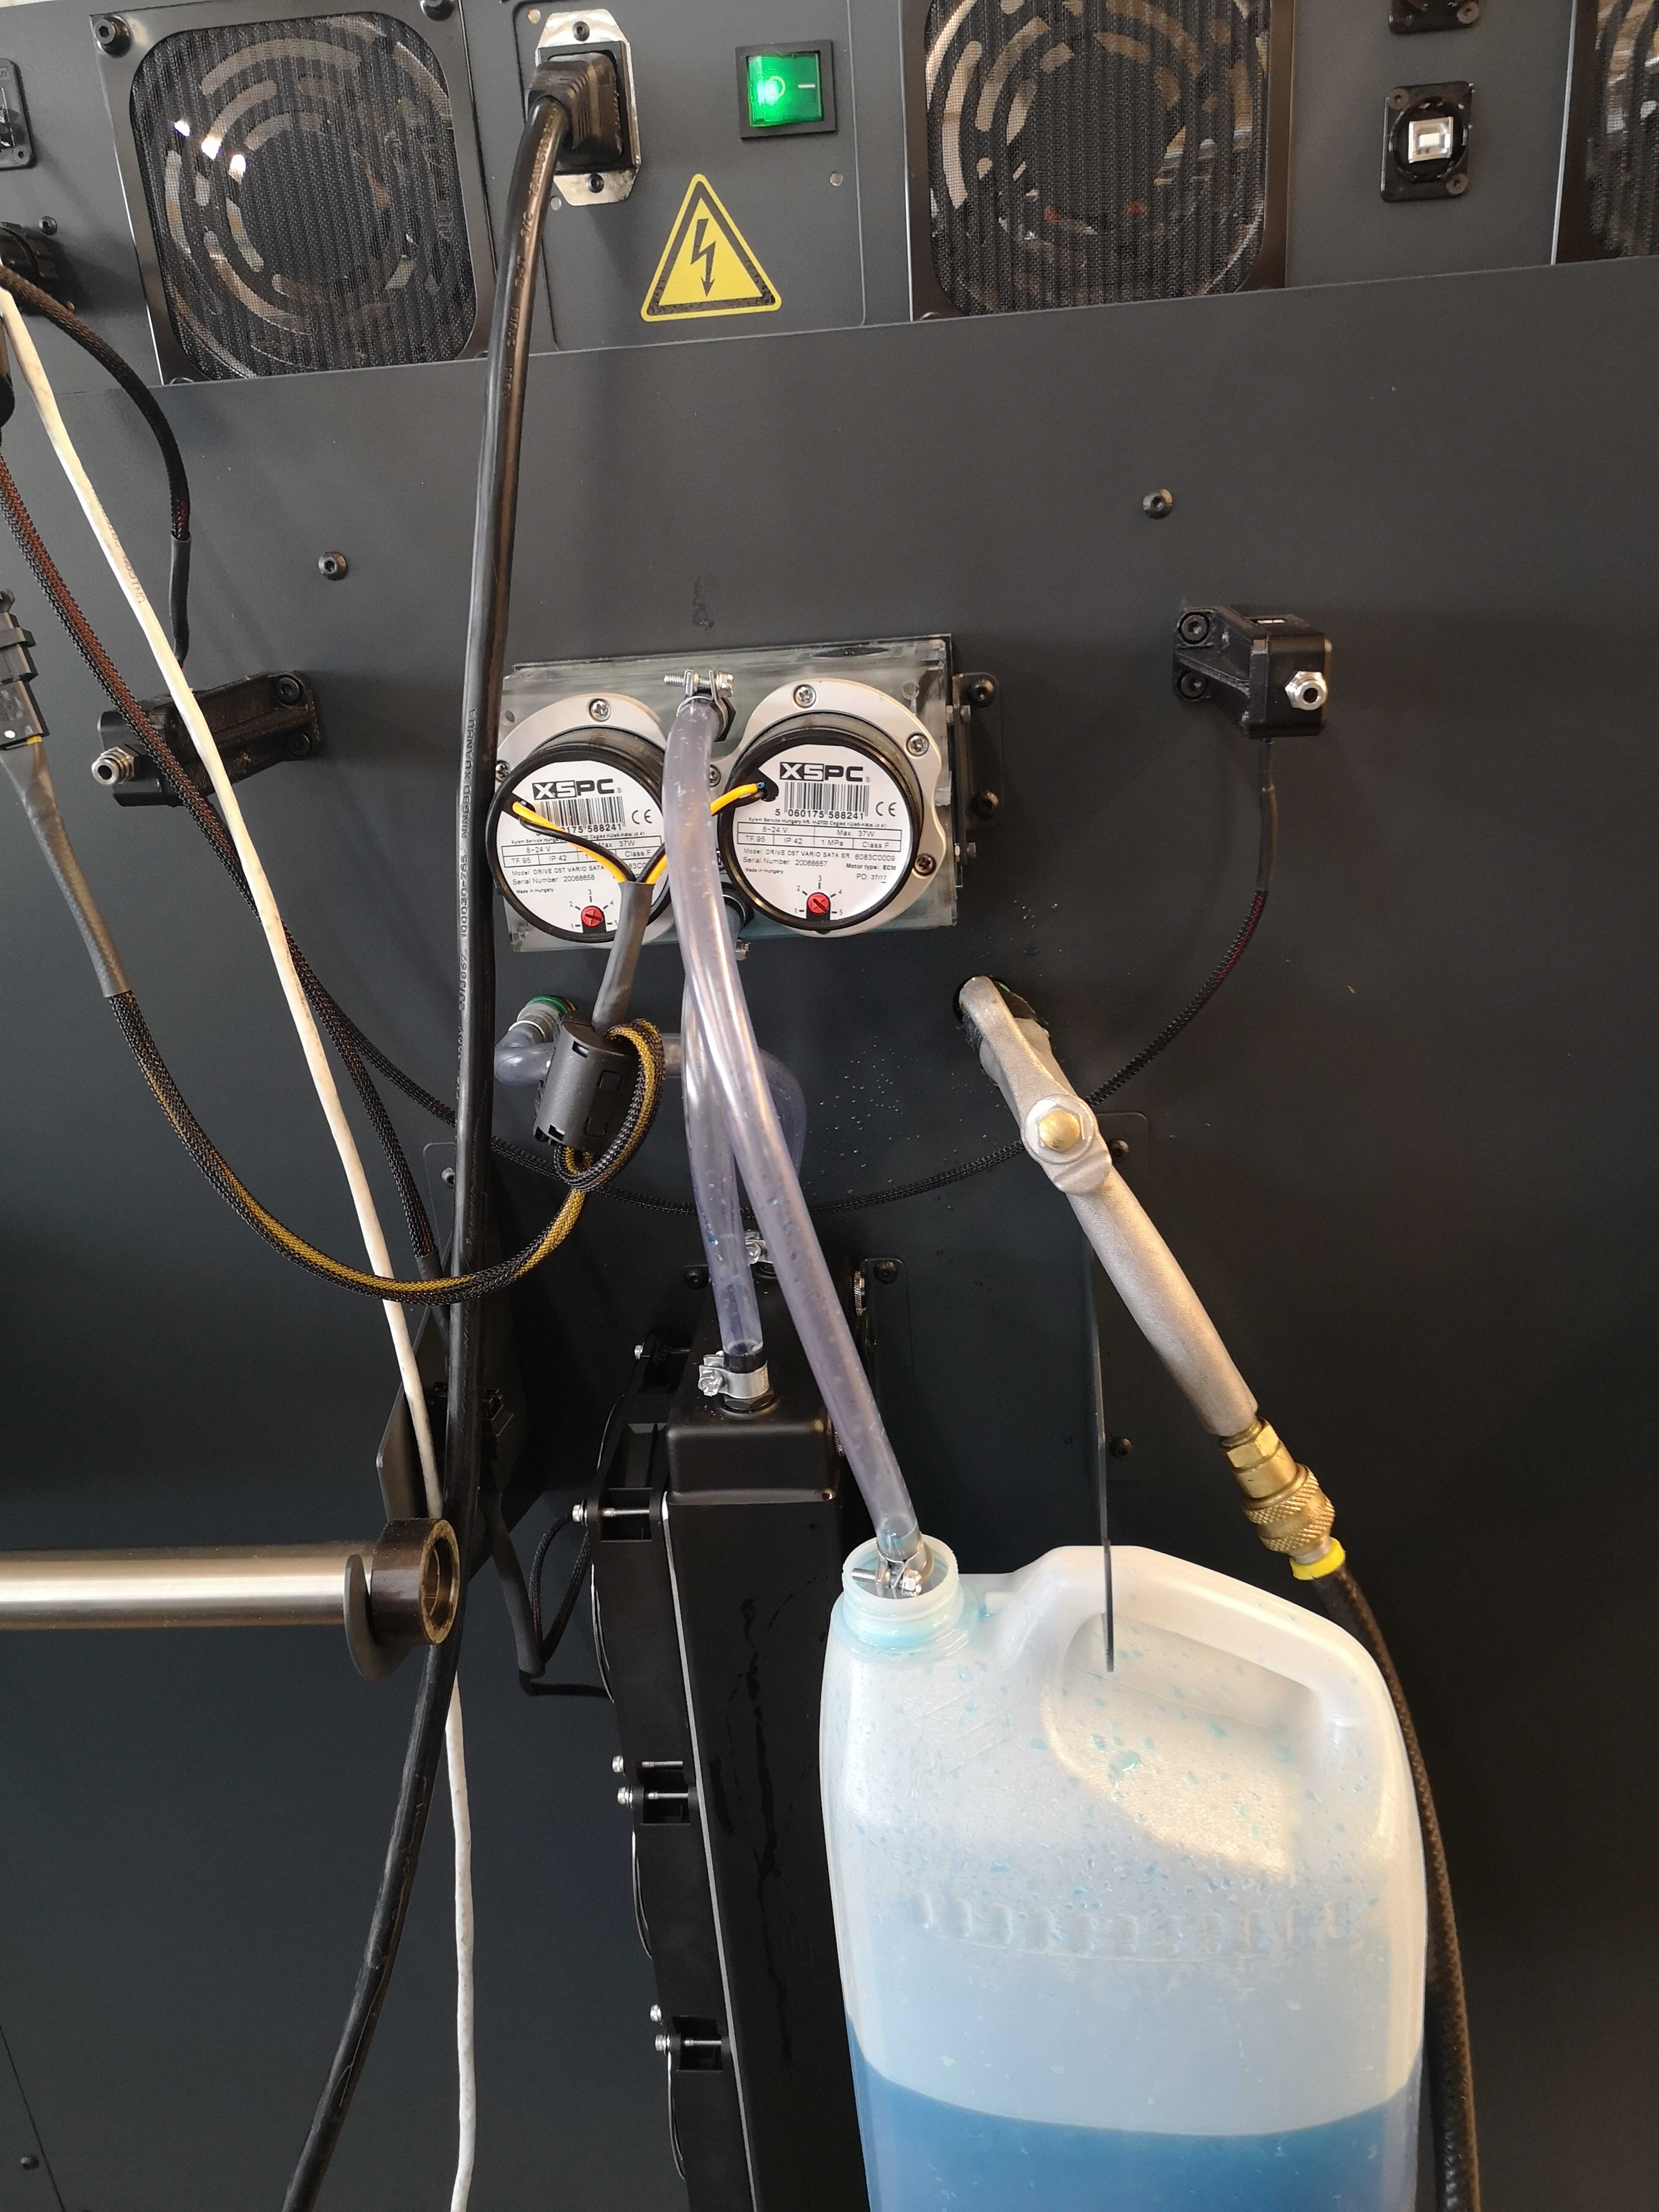
- Place the 3-liter bucket directly under the radiator bleed valve found at the rear of the machine.
- Use the large flathead screwdriver to remove the cap from the top of the coolant reservoir.
- With the coolant pump power ON, use the large flathead screwdriver to open the bleed valve to let the coolant drain into the 3-liter bucket.
- When the coolant reservoir is almost empty, turn the power OFF with the ON/OFF switch found on the rear panel of the machine.
Do not operate the coolant pump when coolant level is low. This can cause damage to machine component(s).
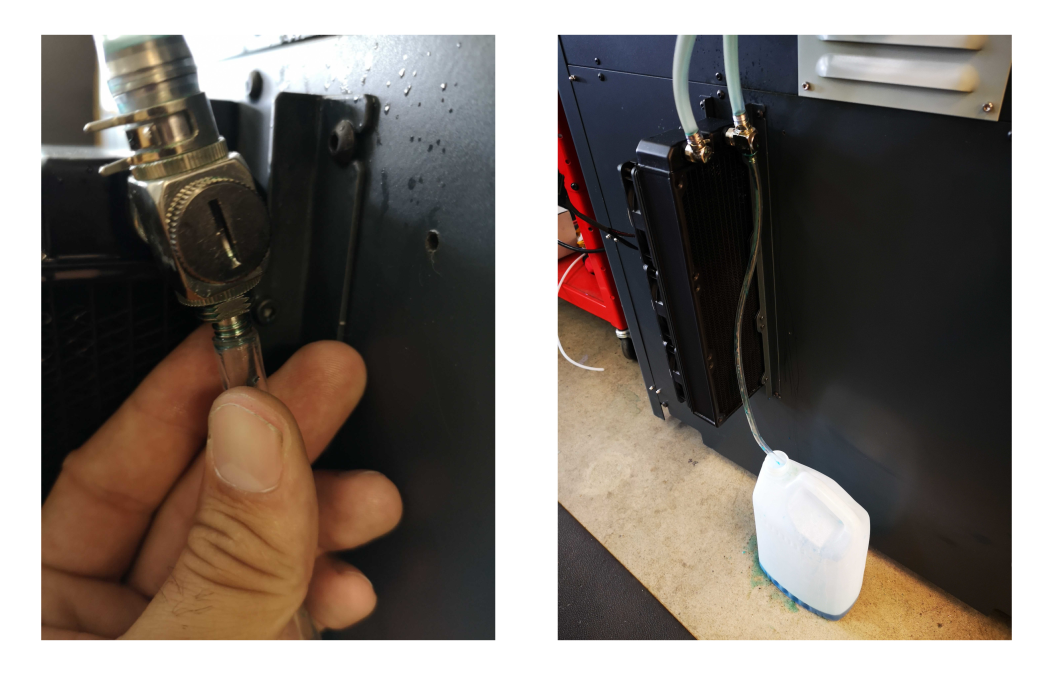
- Attach one end of the rubber tube to the bleed valve and the other end into the 3-liter bucket.
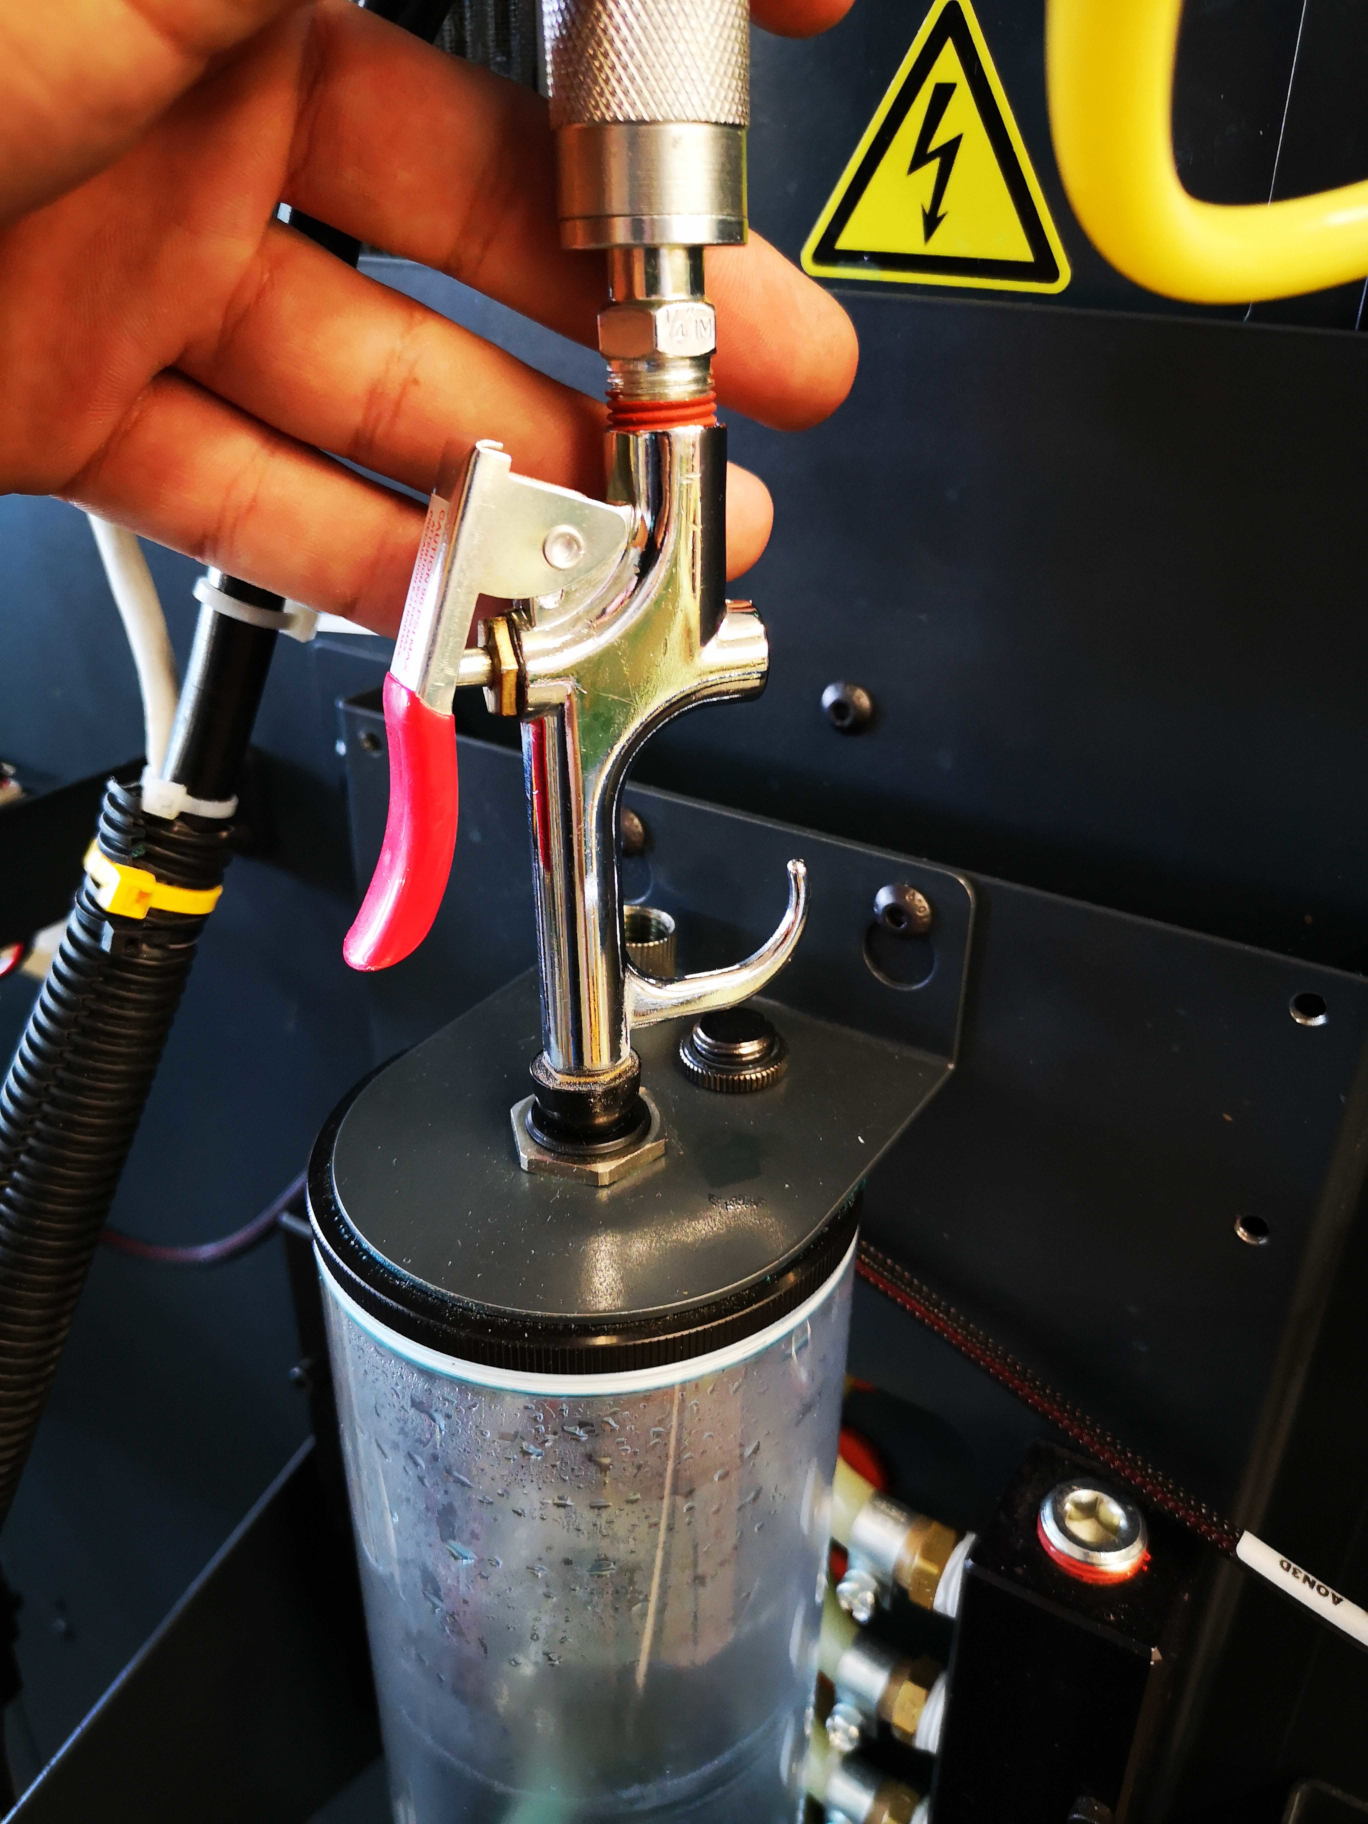
- Place the hand vacuum pump or compressed air source against the opening at the top of the coolant reservoir.
Do not exceed 15 psi of compressed air. The use of too much air pressure in the cooling circuit can cause damage to the machine component(s).
- Carefully apply compressed air into the cooling circuit to push out the coolant, or use the manual vacuum pump in the pressurize mode. Do this until all the coolant has been drained from the cooling circuit.
- Remove the rubber tube from the bleed valve.
- Use the large flathead screwdriver to close the bleed valve. Make sure that the bleed valve is closed.
- Discard of used coolant in accordance to local laws and/or regulations.
Fill the Cooling Circuit
- Fill the cooling circuit. Refer to the Fill the Cooling Circuit procedure.
Test and Return to Service
- Close the build chamber door.
- Release the E-stop button.
- Home XYZ.
AON-M2 Original Model Instructions
Tools
| Qty | Description | Specification |
|---|---|---|
| 1 | Screwdriver | Flathead, large |
| 1 | Vacuum Pump, Manual | N/A |
| 1 | Air Compressor | 15 psi (maximum) |
| 1 | Bucket | 3 liters minimum |
| A/R | Rags | Lint-free |
The use of compressed air, or a manual vacuum pump, can be used to drain the coolant from the cooling circuit.
Parts Information
None required.
Personal Protective Equipment
| Qty | Description | Minimum Specification |
|---|---|---|
| 1 | Safety Eyewear | ANSI/ISEA Z87.1 |
| A/R | Nitrile Gloves | ISO 2859-1 or ASTM D6319 |
Prepare The Machine
- Home XYZ.
- Push the E-stop button.
- Open the build chamber door.
- Wait until the build chamber, build platform, hot ends, and the coolant are at room temperature.
Drain the Coolant
Wait until all the machine components are at room temperature before you continue. Some machine components can be hot if the machine was recently used. Failure to do so can cause injuries.
- Place the 3-liter bucket directly under the radiator which is found at the rear of the machine.
- Use the large flathead screwdriver to remove the plug on the coolant reservoir.
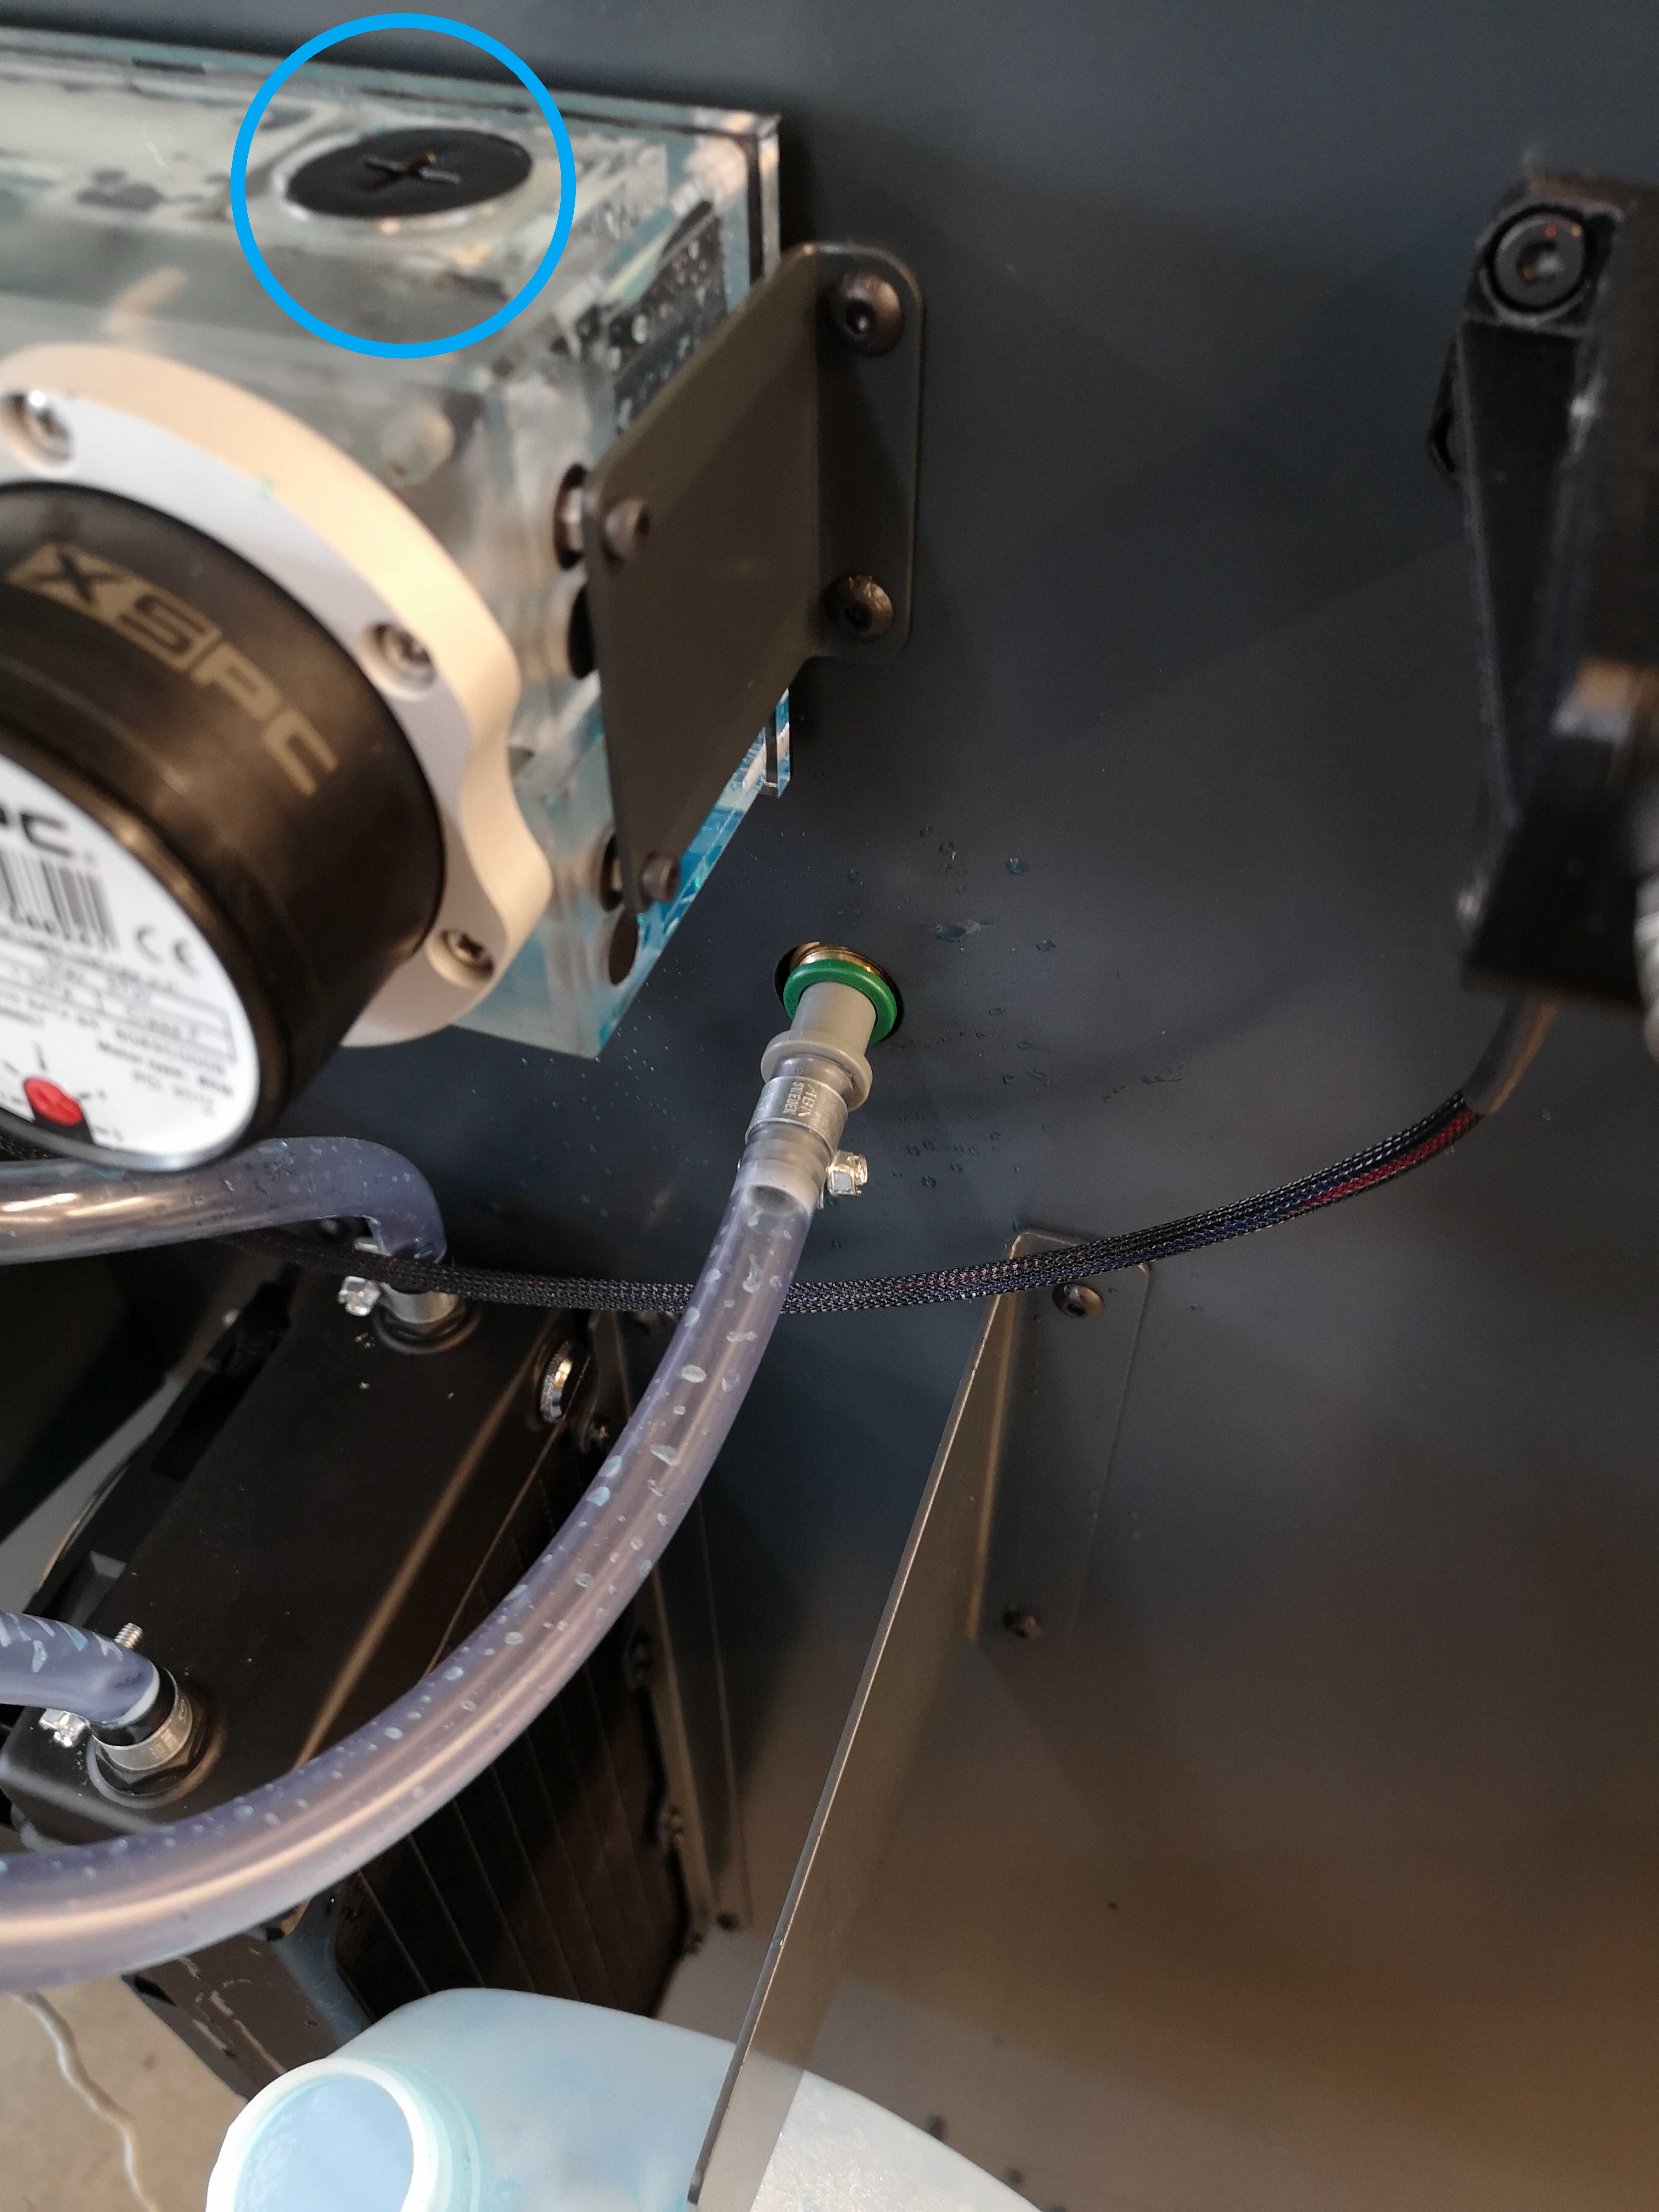
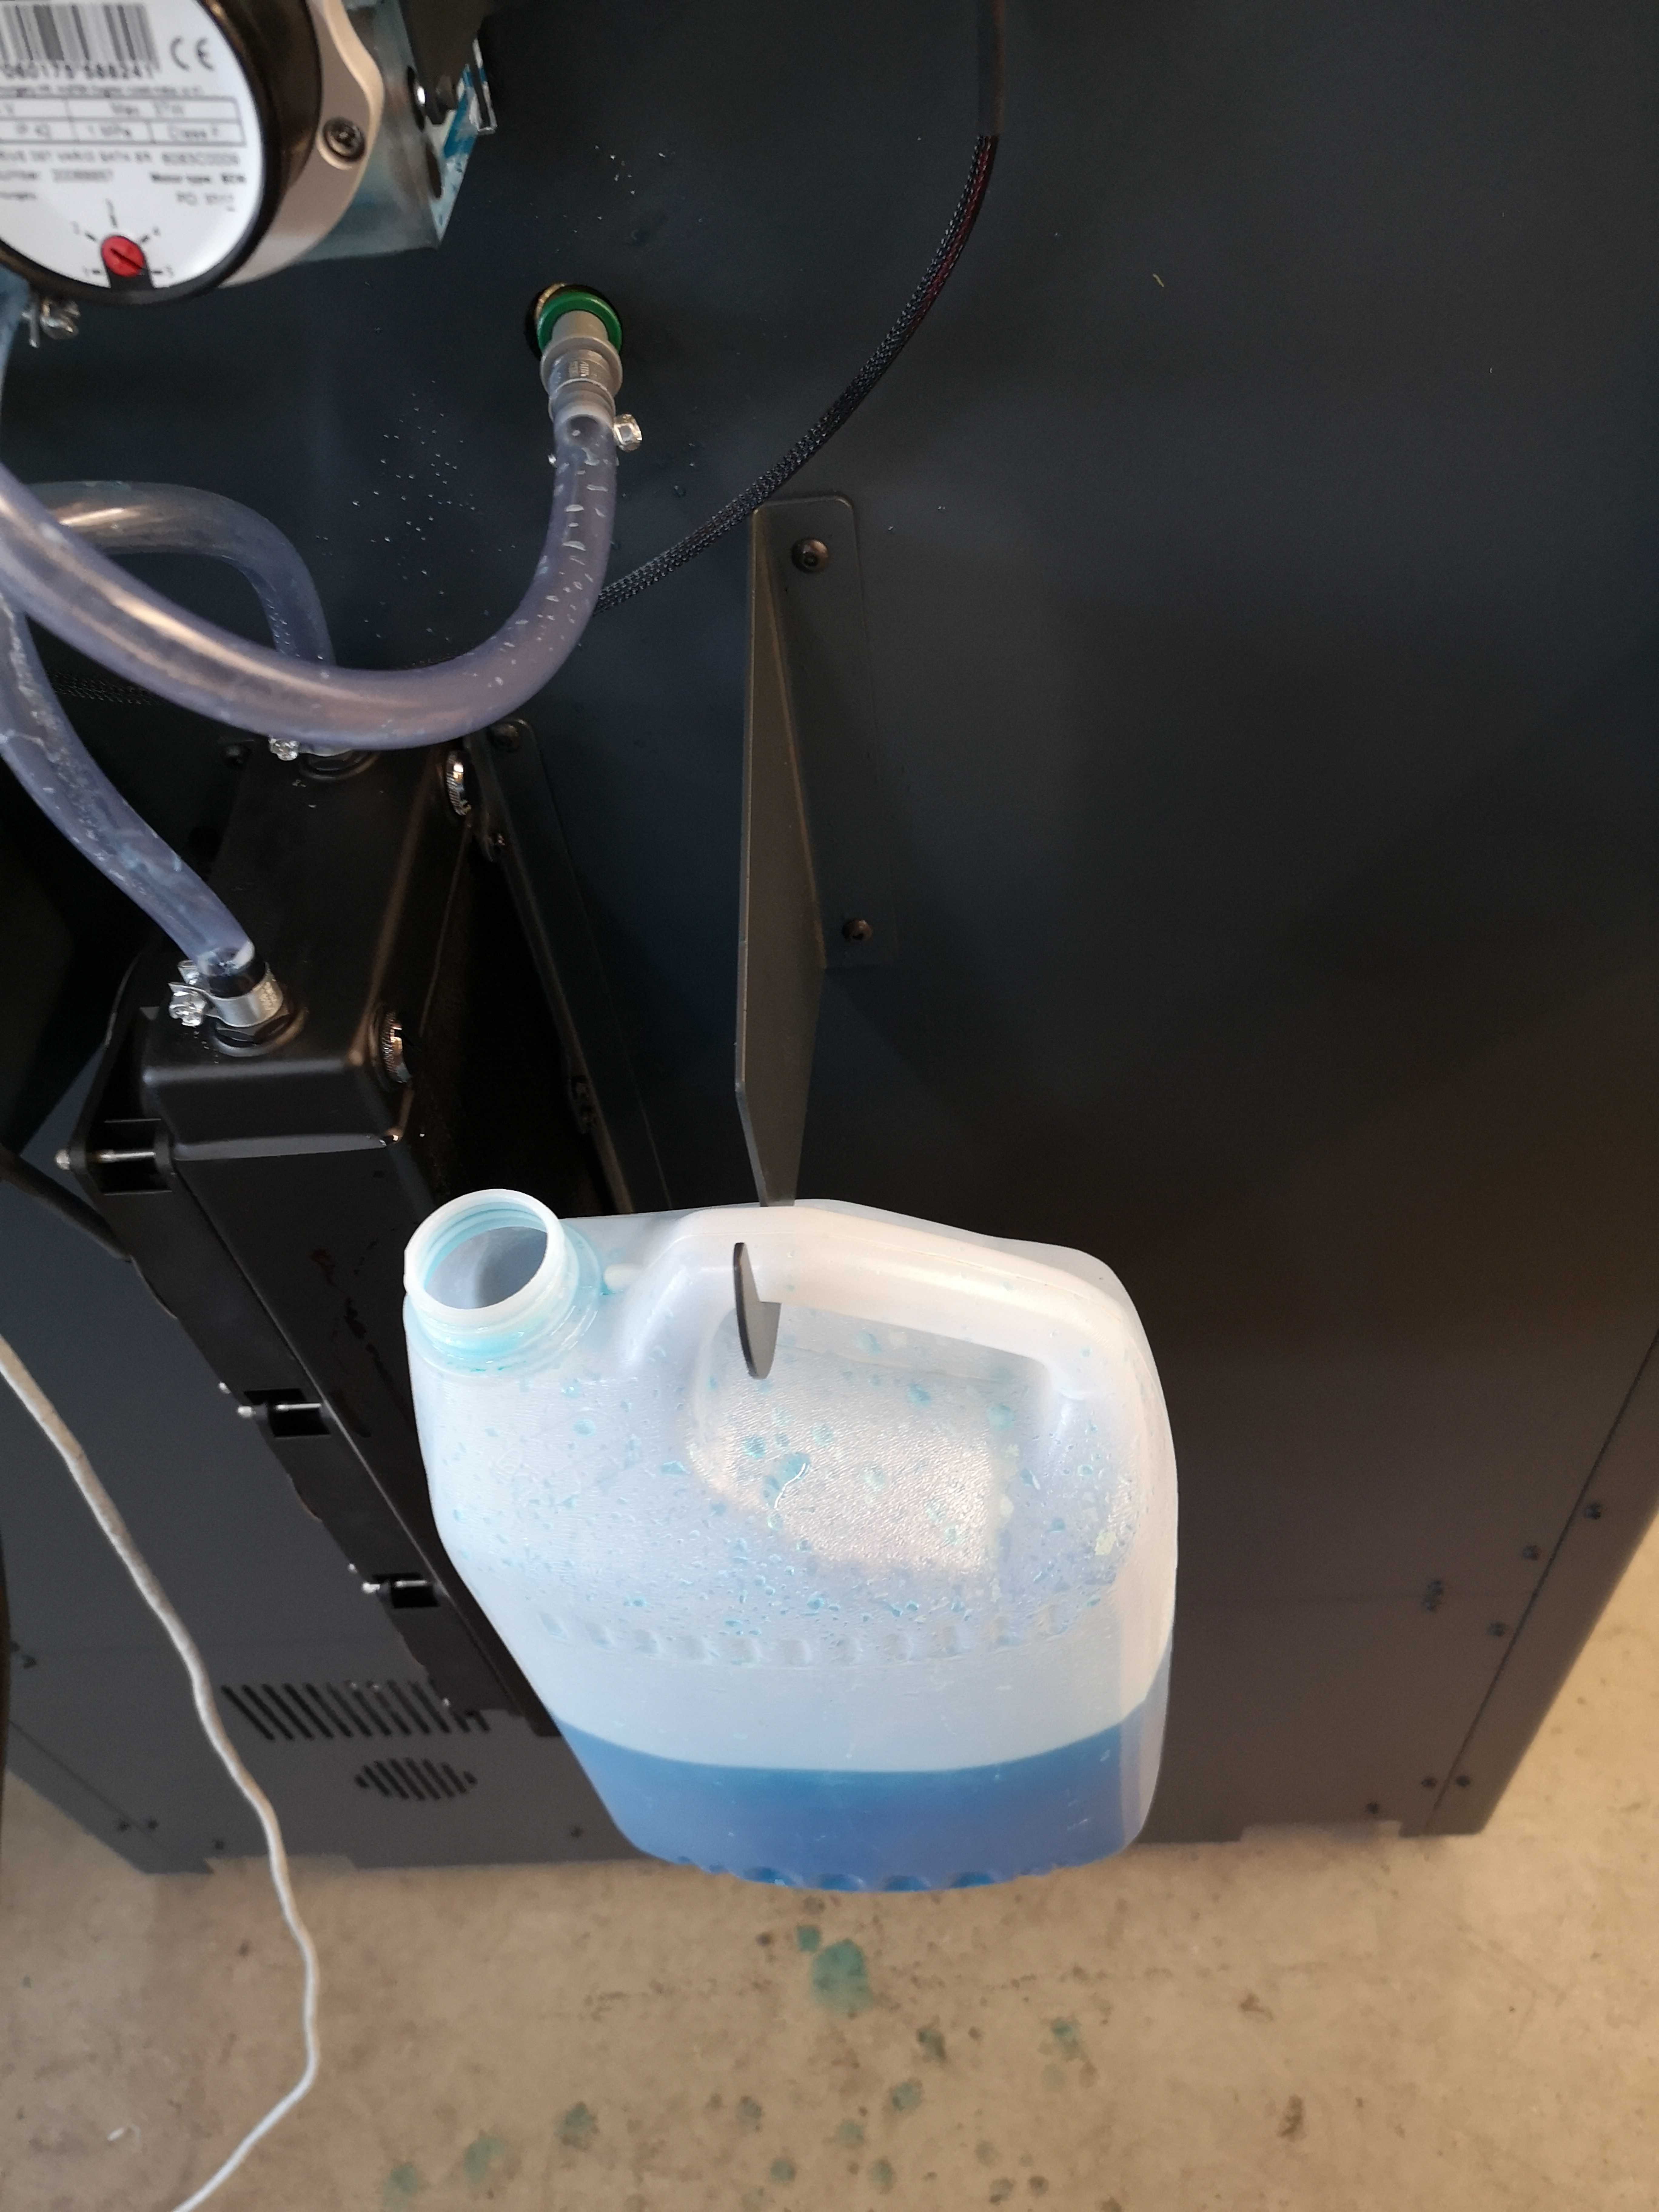
- Place a lint-free rag under the right quick-connect fitting to absorb the coolant that may exit the quick-connect fitting.
- Disconnect the coolant tube from the right quick-connect.
- Press on the green collar and carefully pull the gray connector.
- Place the coolant tube into the 3-liter bucket. Let the coolant drain into the 3-liter bucket.
- Place the manual vacuum pump or compressed air source against the green collar of the right quick-connect fitting.
Carefully apply compressed air into the cooling circuit to push out the coolant, or use the manual vacuum pump in the pressurize mode. Do this until all the coolant has been drained from the cooling circuit.
Do not exceed 15 psi of compressed air. The use of too much air pressure in the cooling circuit can cause damage to the machine component(s).
- Connect the coolant tube onto the right quick-connect fitting. Make sure the coolant tube is correctly attached to the quick-connect fitting.
Do not operate the coolant pump when coolant level is low. This can cause damage to machine component(s).
- Discard of used coolant in accordance to local laws and/or regulations.
Fill the Cooling Circuit
- Fill the cooling circuit. Refer to the Fill the Cooling Circuit procedure.
Test and Return to Service
- Close the build chamber door.
- Release the E-stop button.
- Home XYZ.